Repository navigation
Getting Started
Welcome to Variable Tester v2! This guide will walk you through the basics of using the application. By the end, you'll understand the main features and be ready to conduct your first experiment.
Variable Tester v2 is an application designed to help you conduct experiments where you measure how a variable (something you're testing) changes over time while a subject watches a video.
Common Use Cases:
- Measuring responses and alterations to video content
- Tracking variable levels during experiments
When you launch Variable Tester v2, you'll see the Main Menu with three main sections:
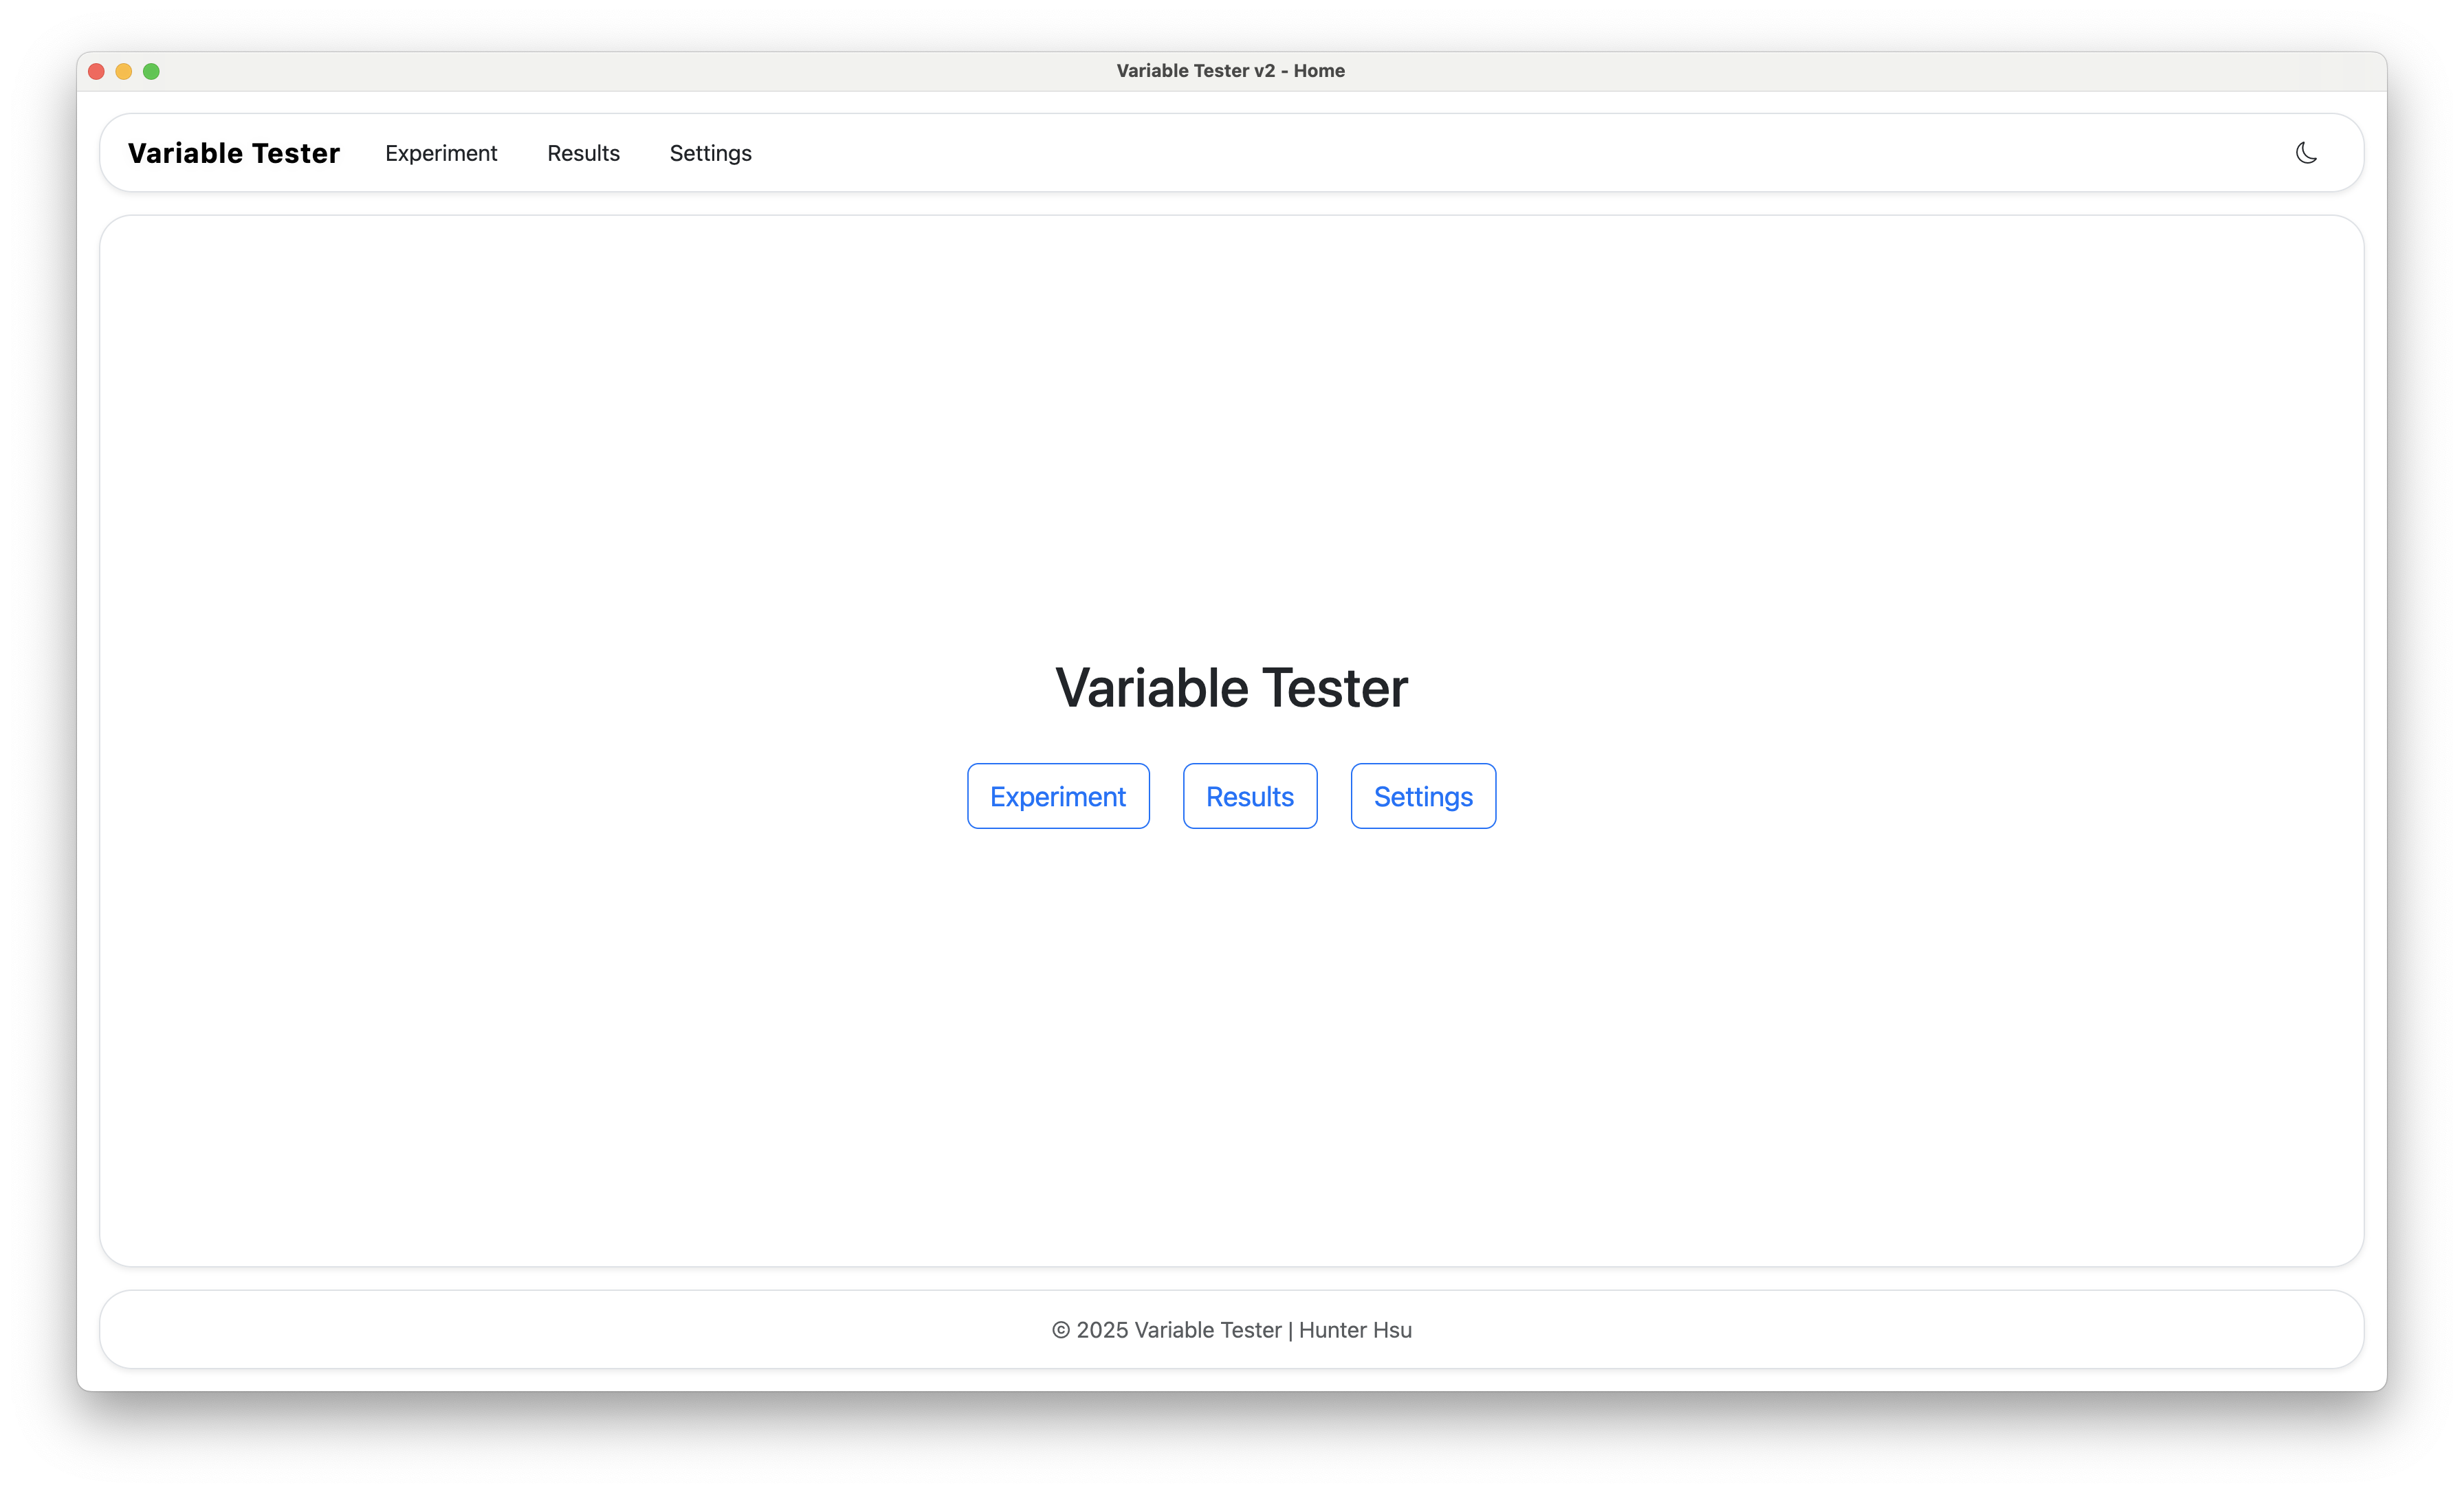
| Section | Purpose | When to Use |
|---|---|---|
| 🧪 Experiment | Start a new experiment session | Ready to conduct an experiment with a subject |
| 📊 Results | View past experiment data and charts | Review, analyze, or export previous experiments |
| ⚙️ Settings | Customize how experiments work | Before your first experiment, or to adjust parameters |
Let's run a simple test experiment to familiarize yourself with the workflow.
Before starting, make sure you have:
- ✅ A video file in MP4 format on your computer
- ✅ A few minutes of time
- ✅ A test "subject name" and "variable name" (you can use "Test Subject" and "Attention" for practice)
- From the Main Menu, click "Start" under the Experiment section
- You'll be taken to the experiment setup screen

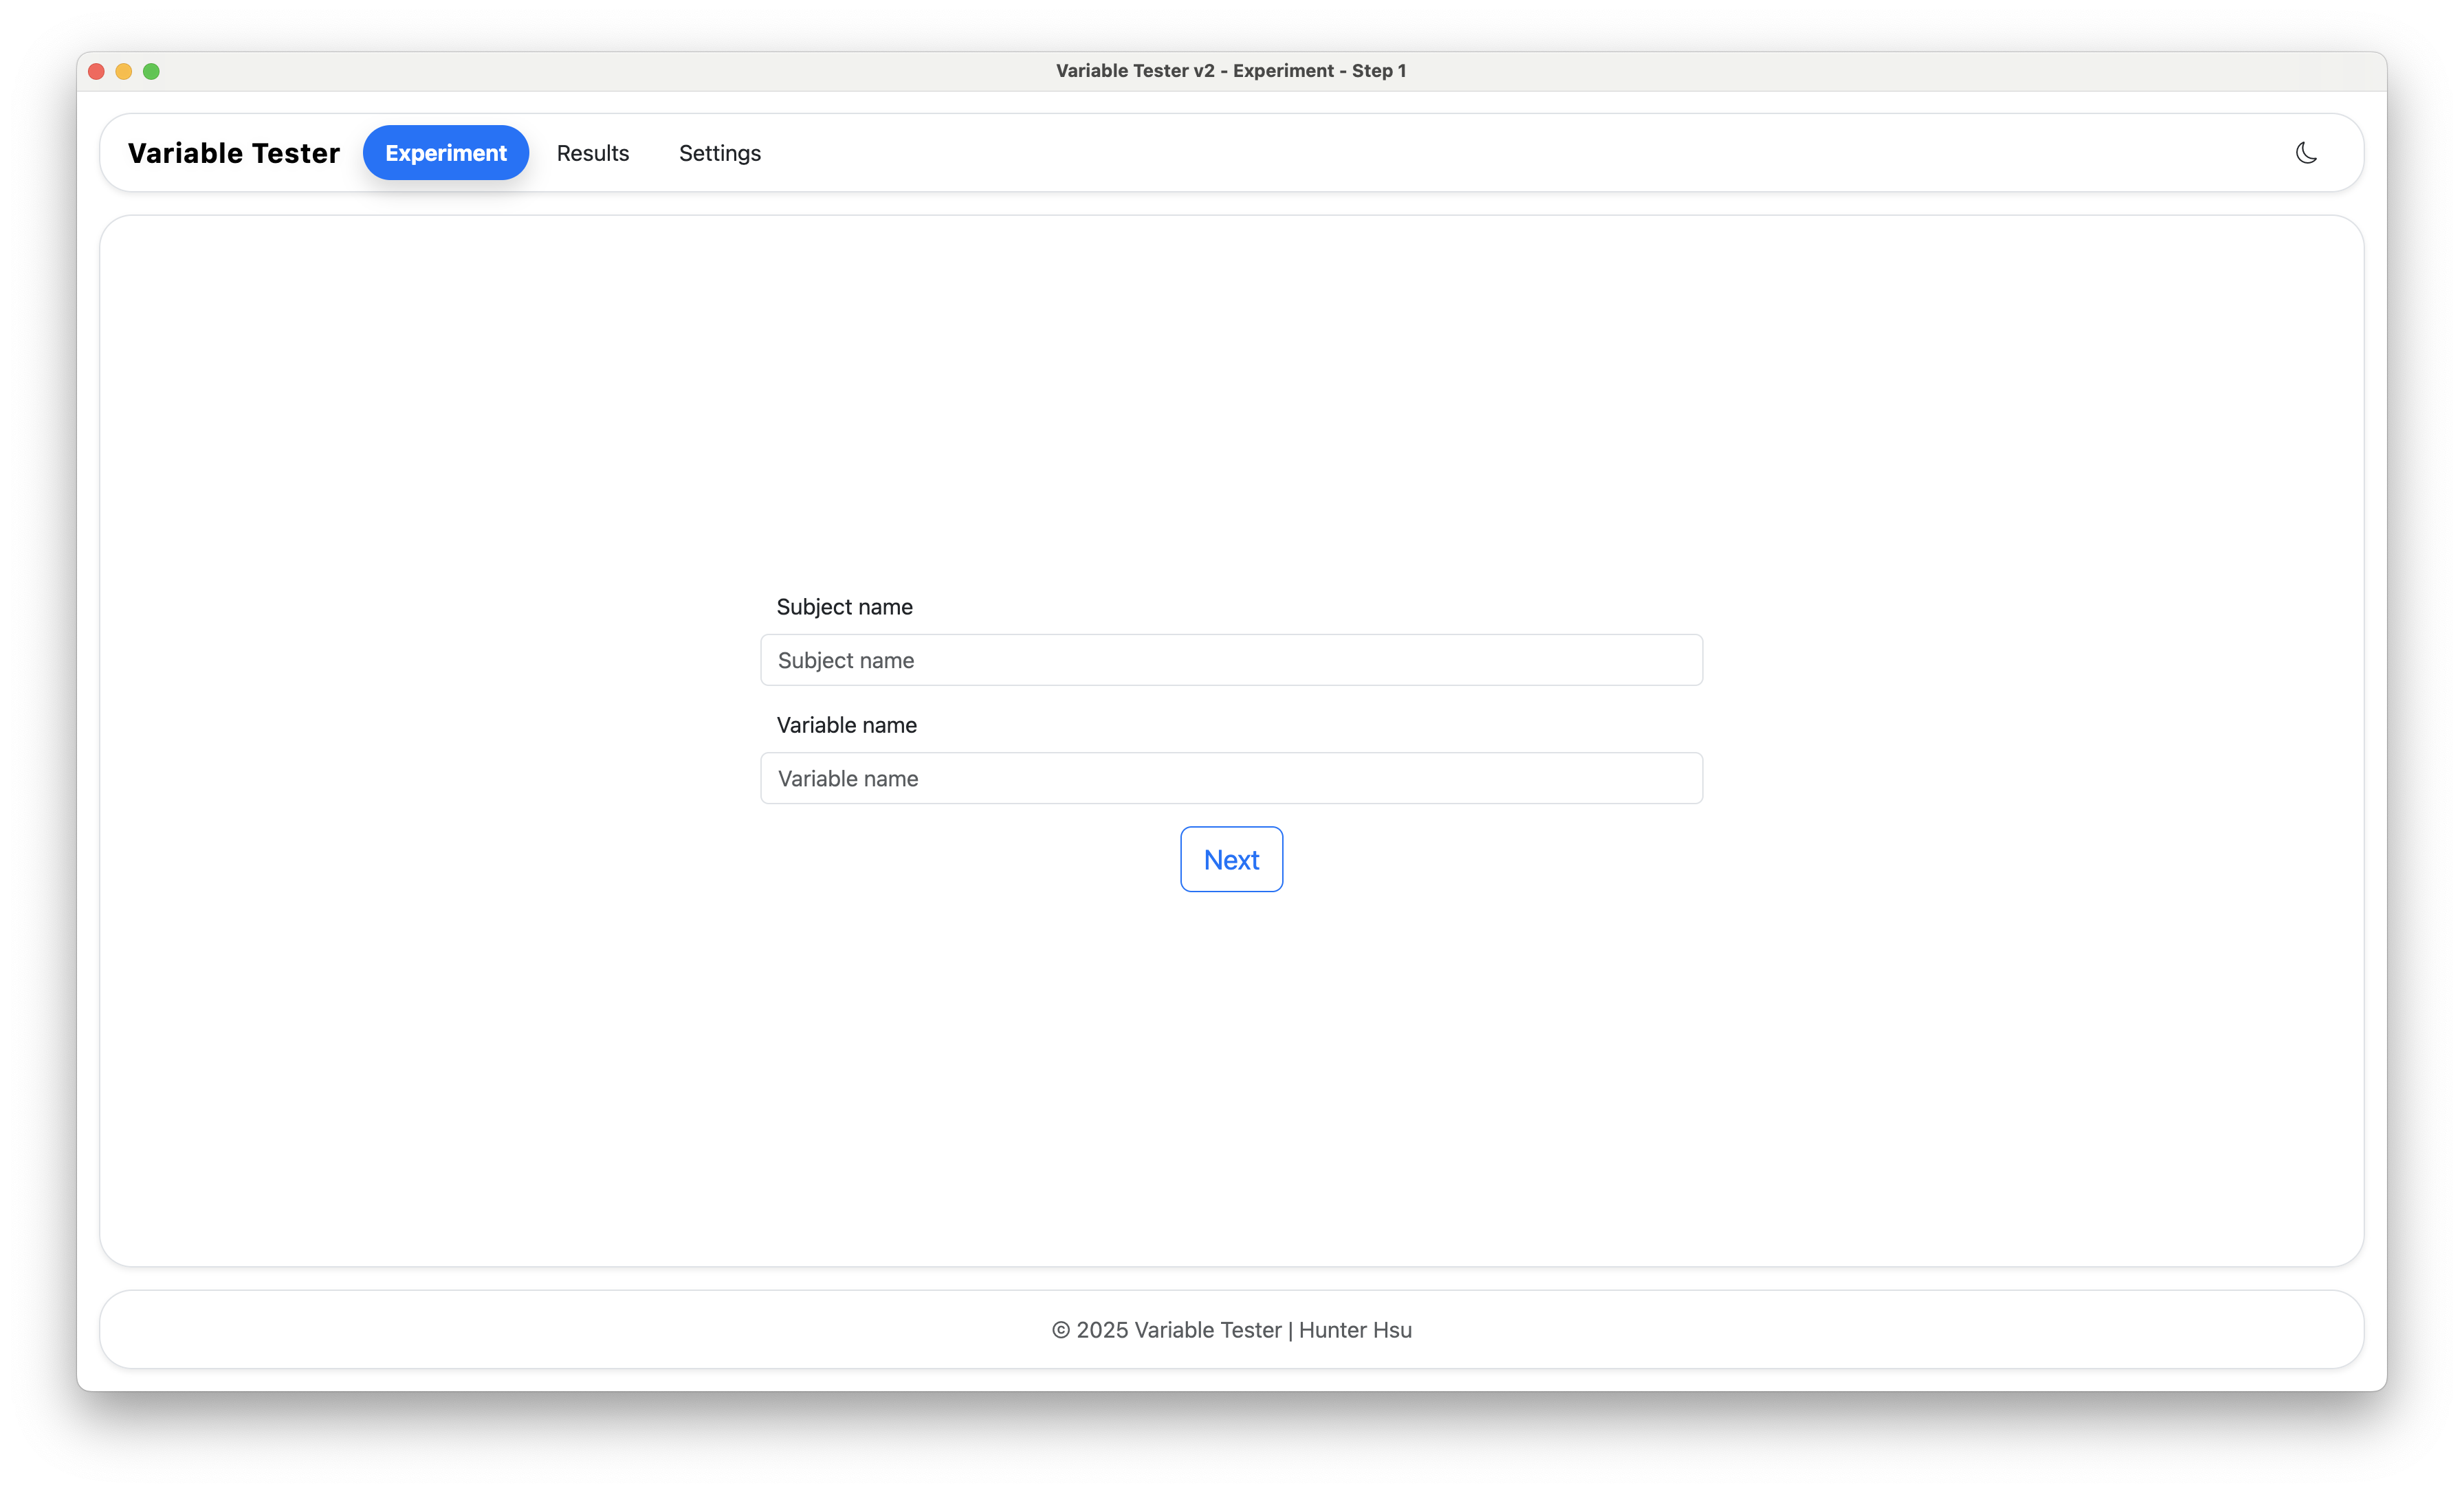
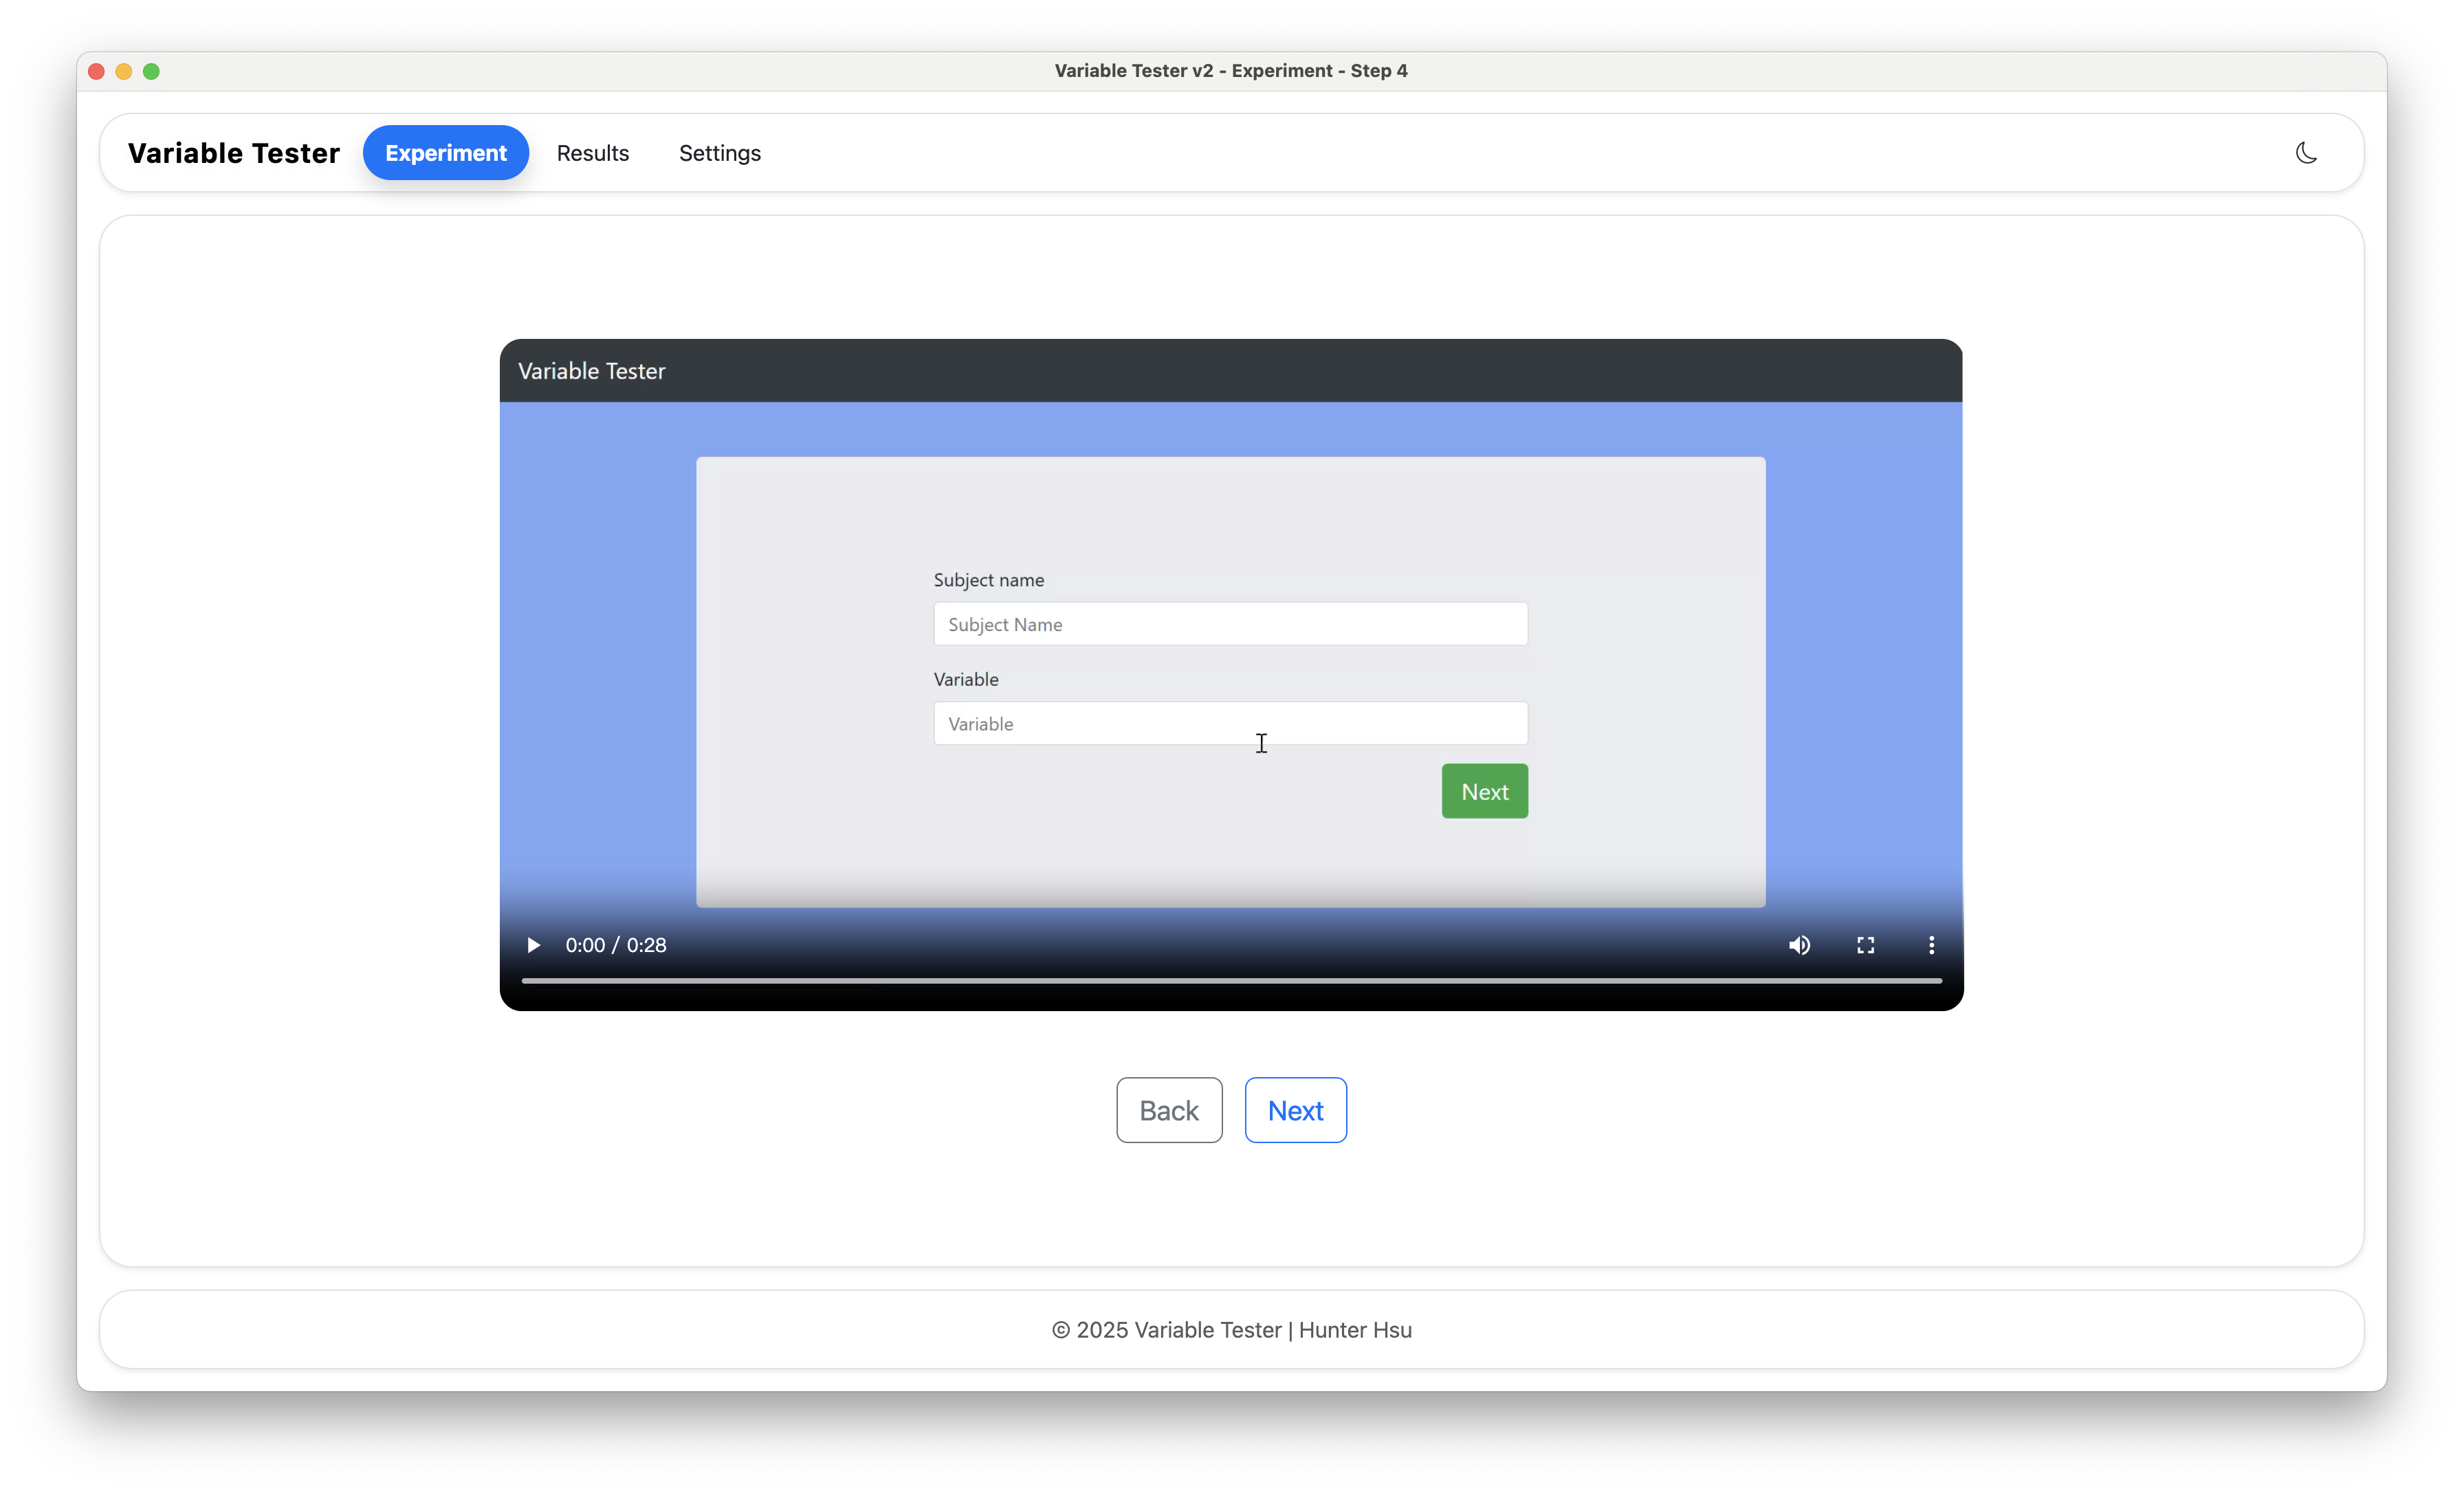
You'll be asked to provide:
- Subject Name: The person being tested (e.g., "John Doe" or "Subject 001")
- Variable Name: What you're measuring (e.g., "Happiness", "Interest", "Attention")
For this tutorial, enter:
- Subject Name:
Test Subject - Variable Name:
Attention
Click "Next" to continue.
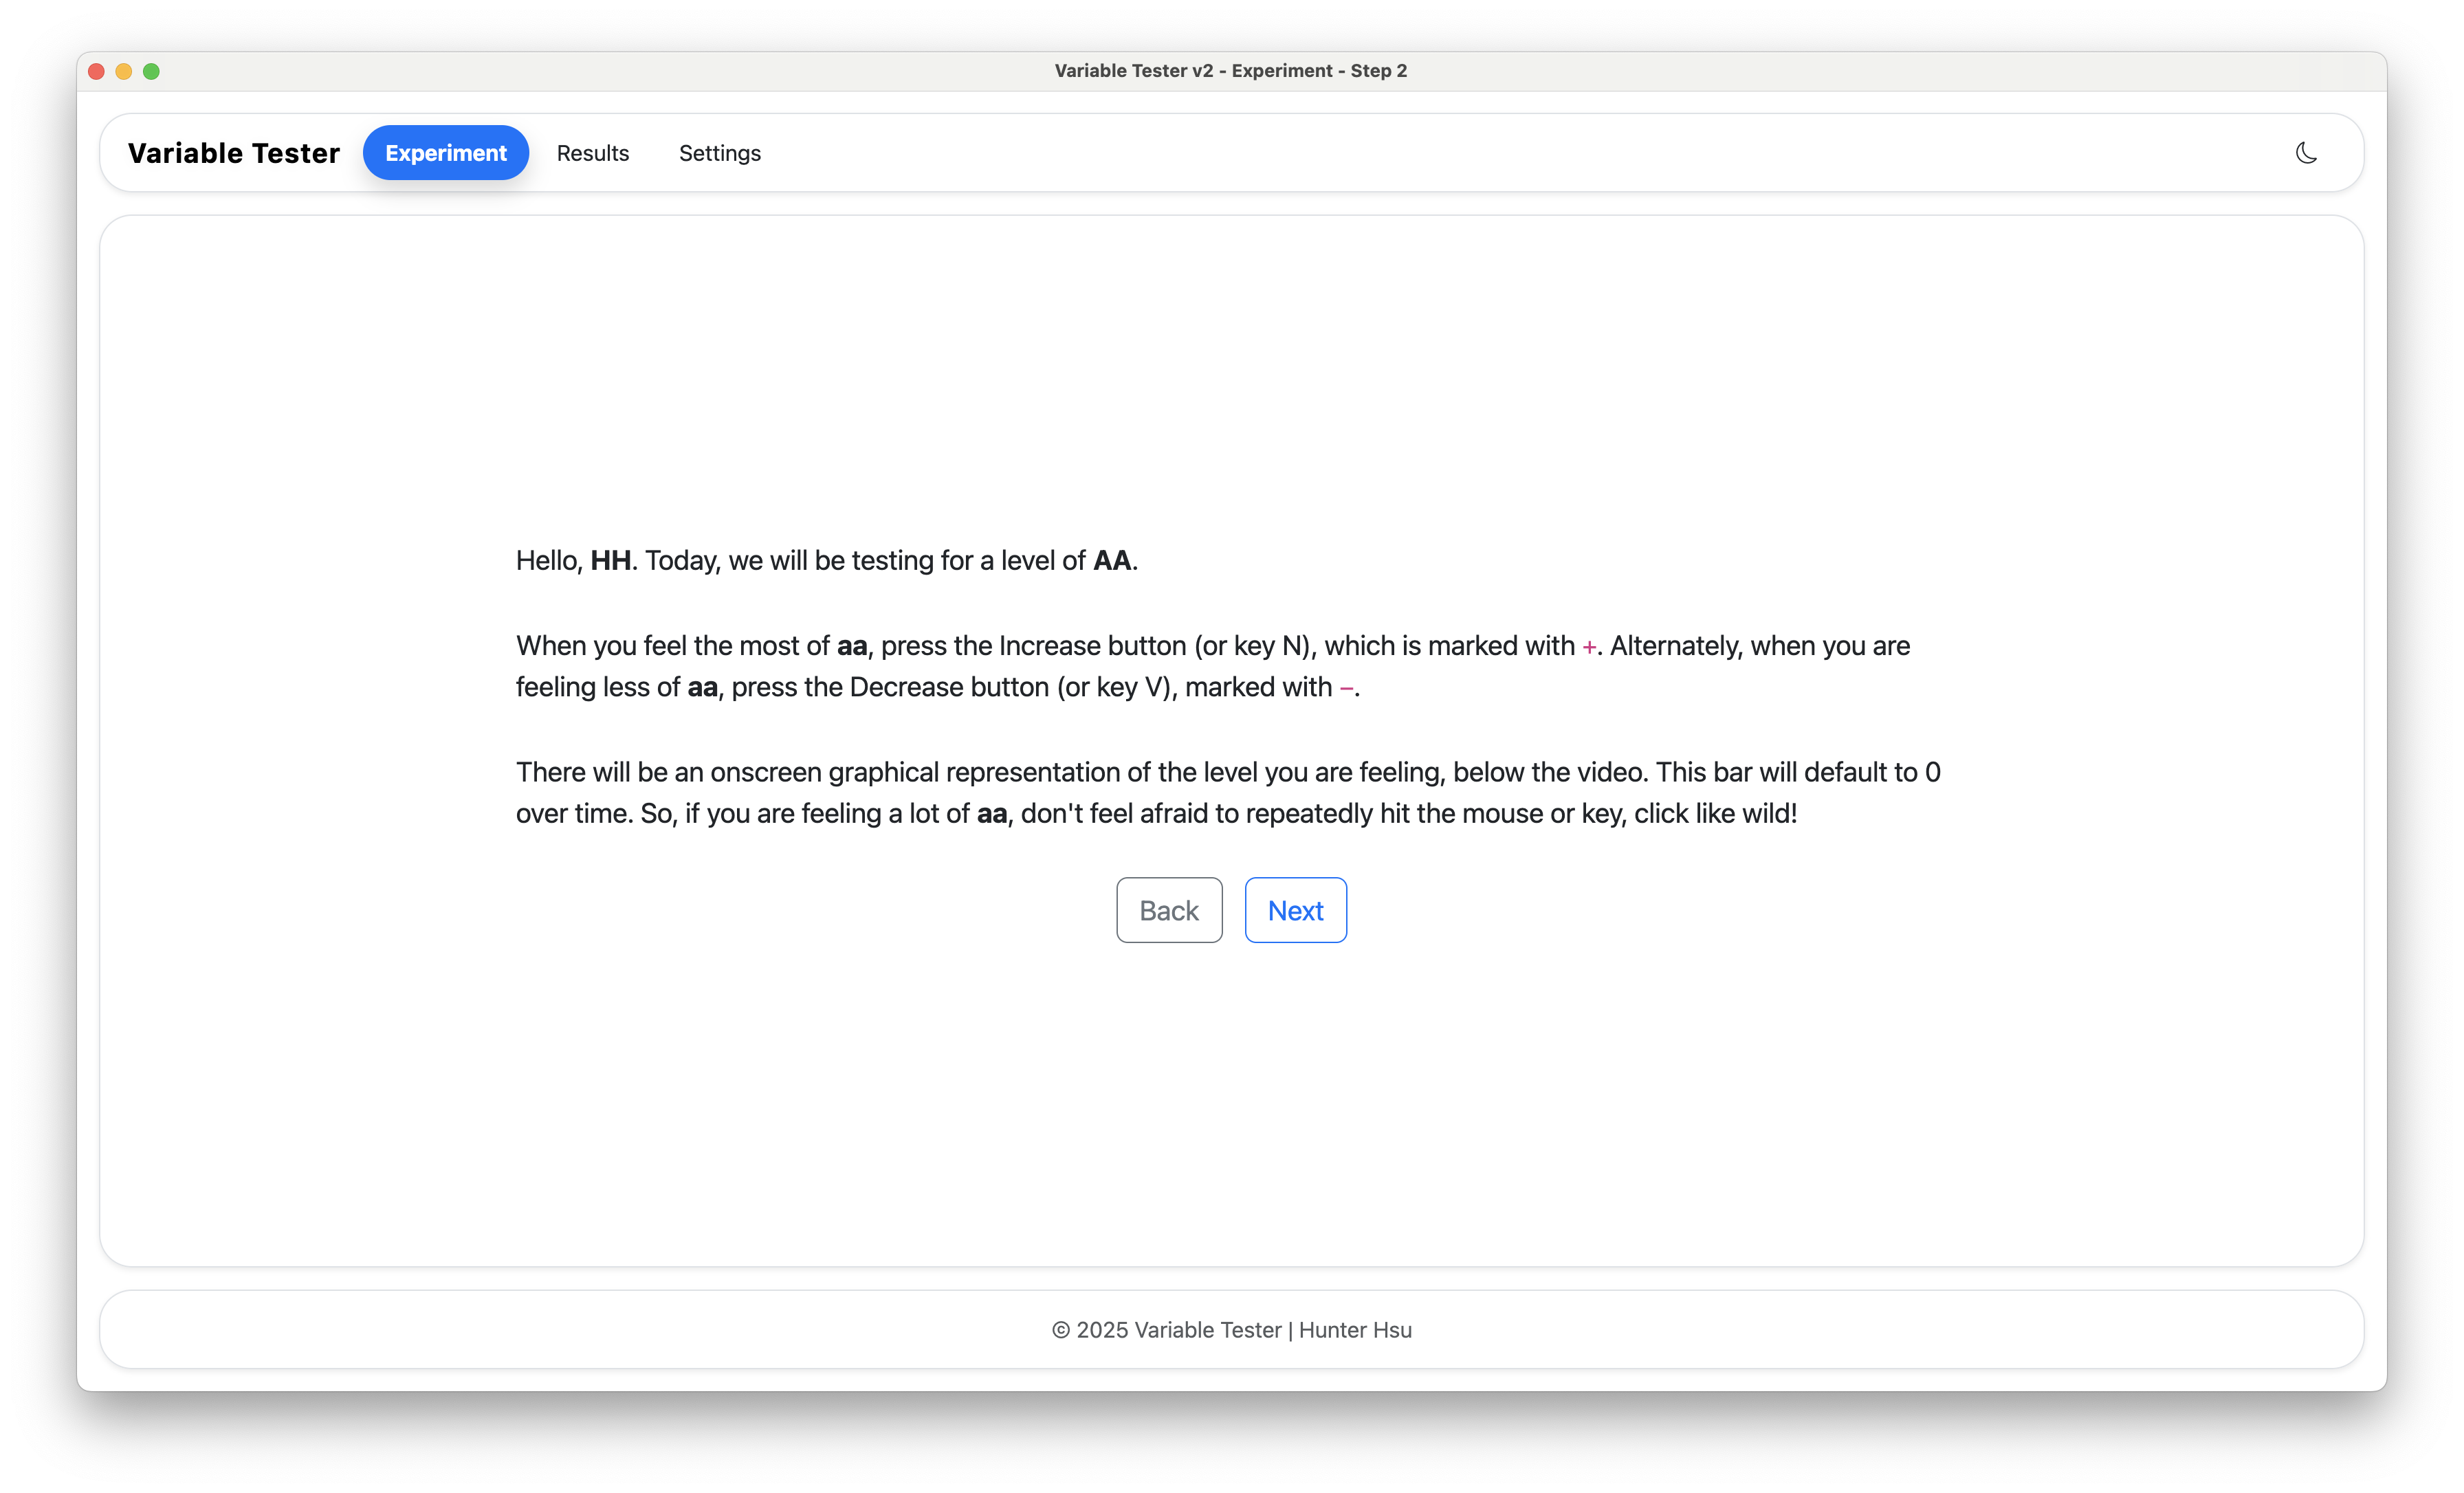
The application will display instructions for the subject. This screen explains:
- How to watch the video
- How the experimenter will record scores
- What to expect during the session
Click "Next" when ready.
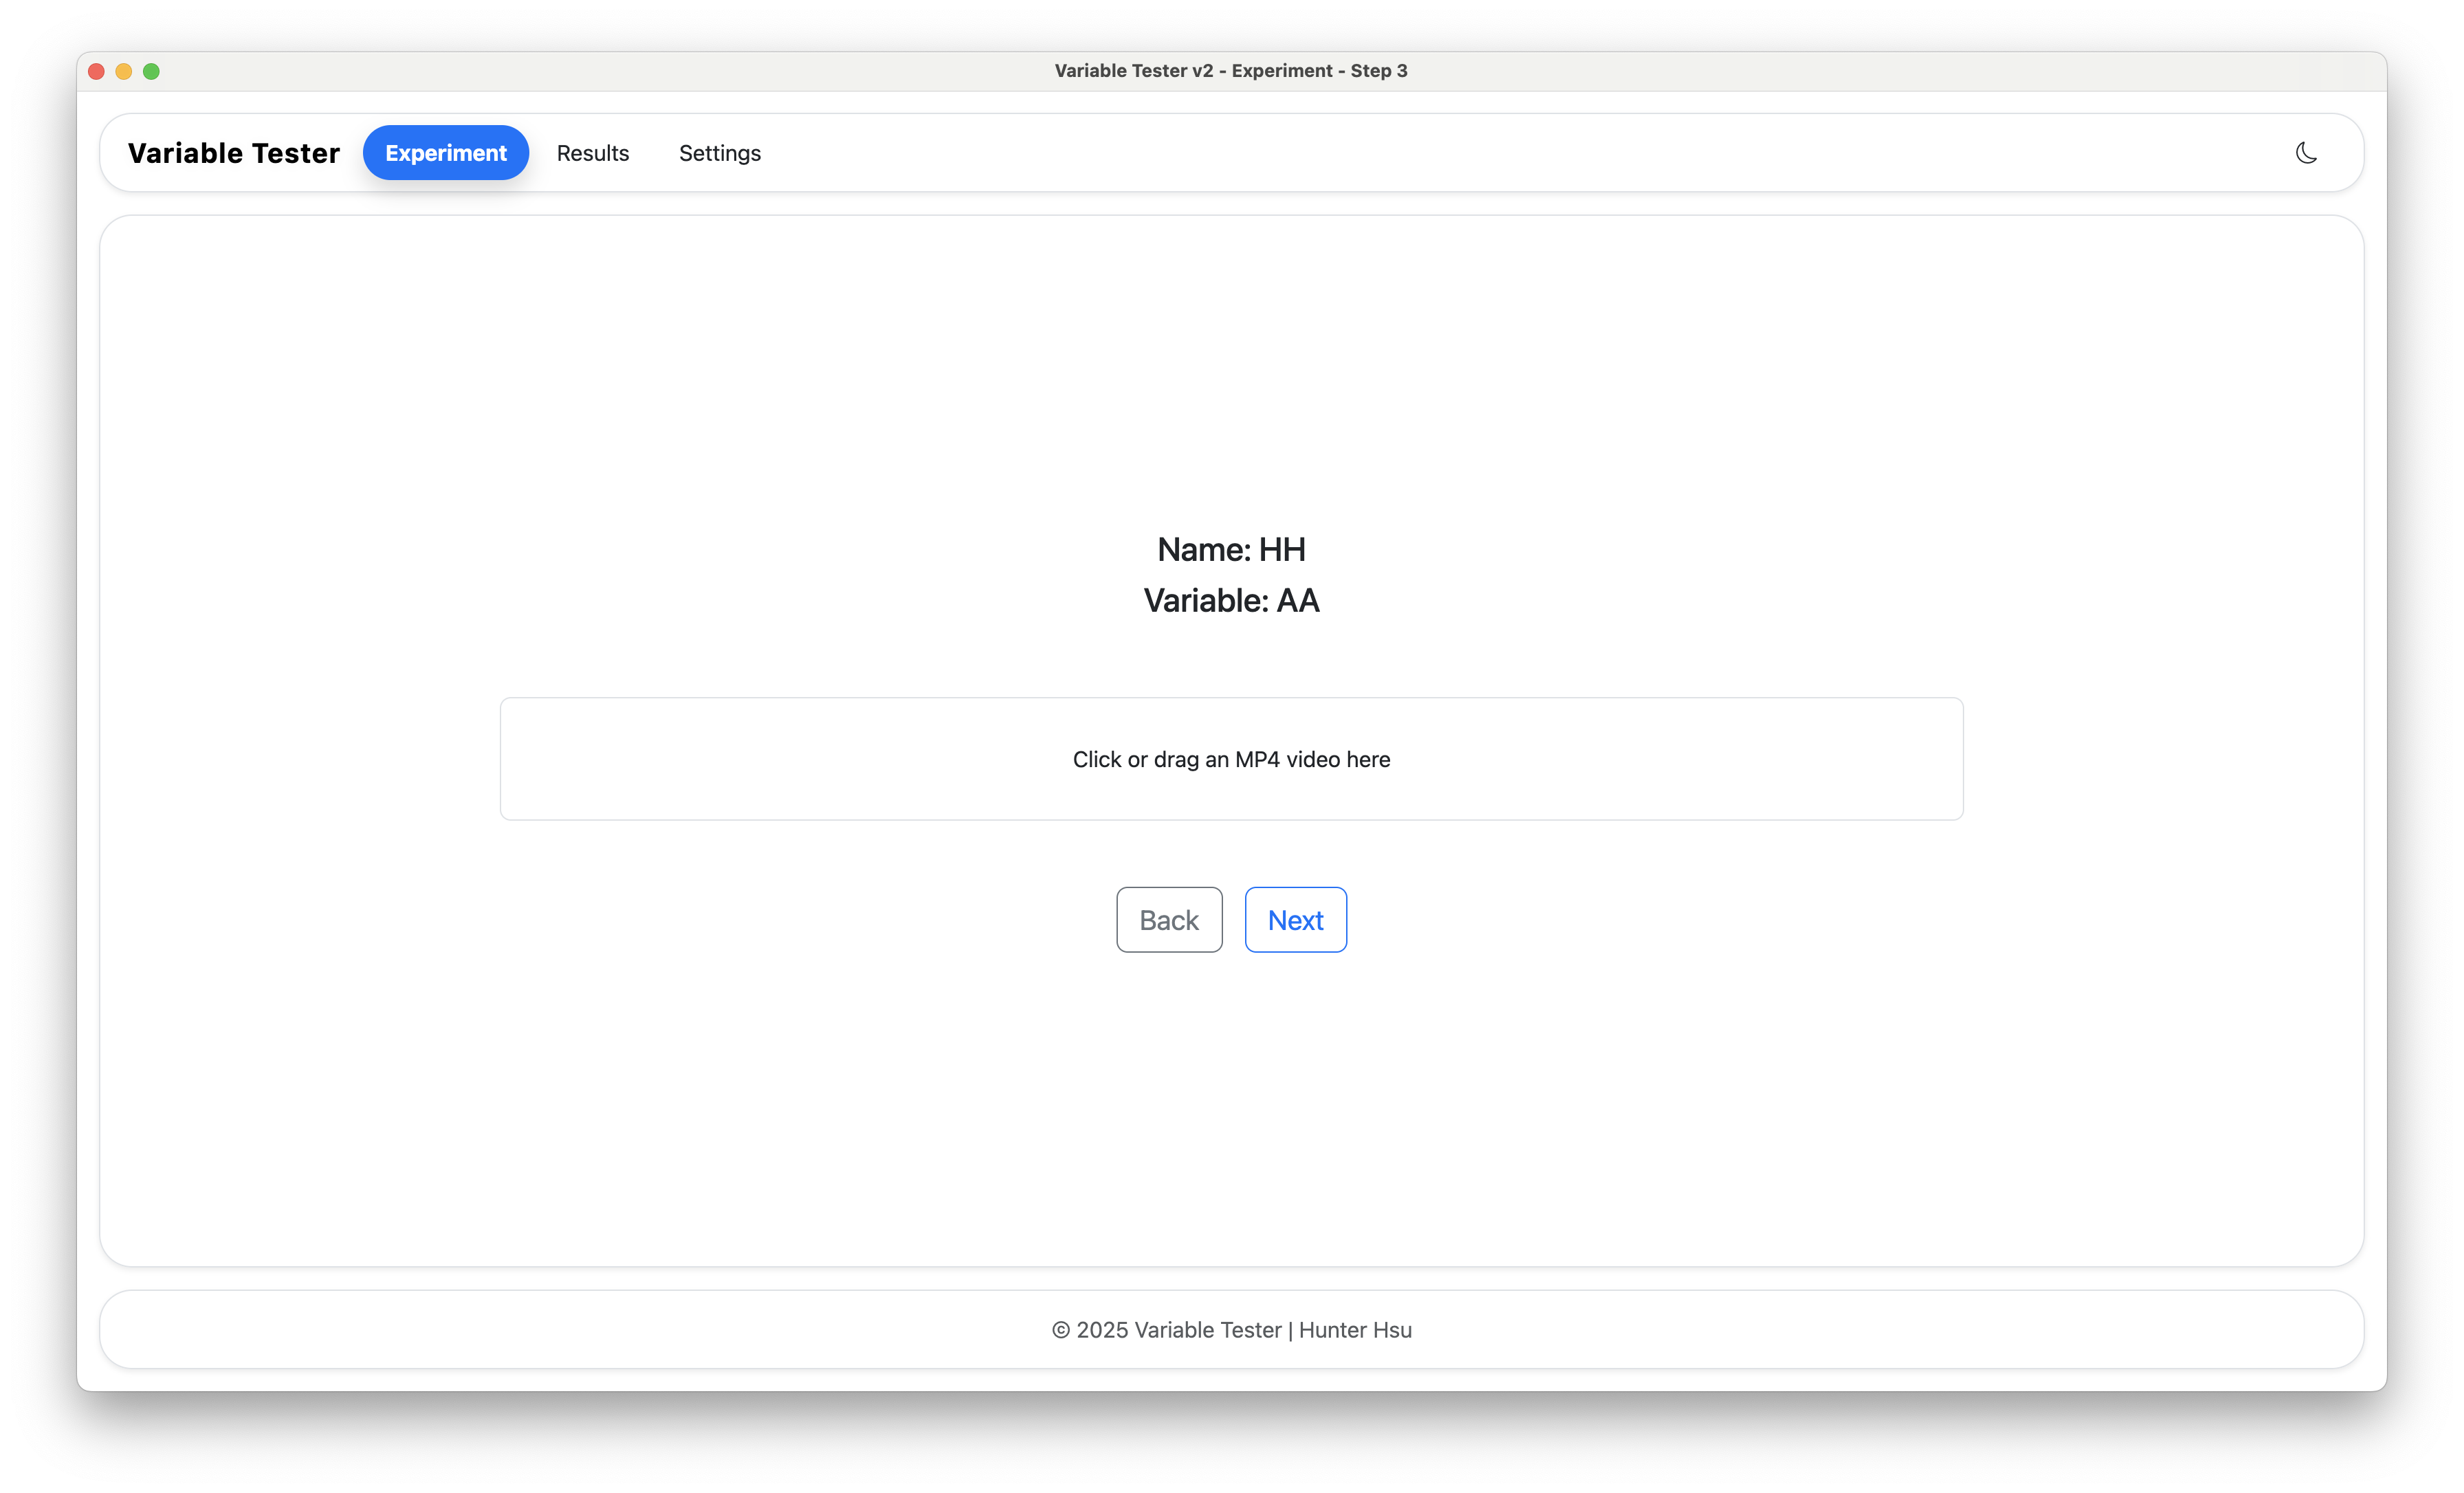
- Click on the "Choose Video" section, or drag and drop your MP4 file into the area
- Click "Next" to preview
- The selected video will play in preview mode
- Verify it's the correct video
- If wrong, click "Back" to select a different file
- If correct, click "Next"
This is the main experiment screen. Here's what you'll see:
Left Side: The video playing Right Side: A real-time chart showing scores
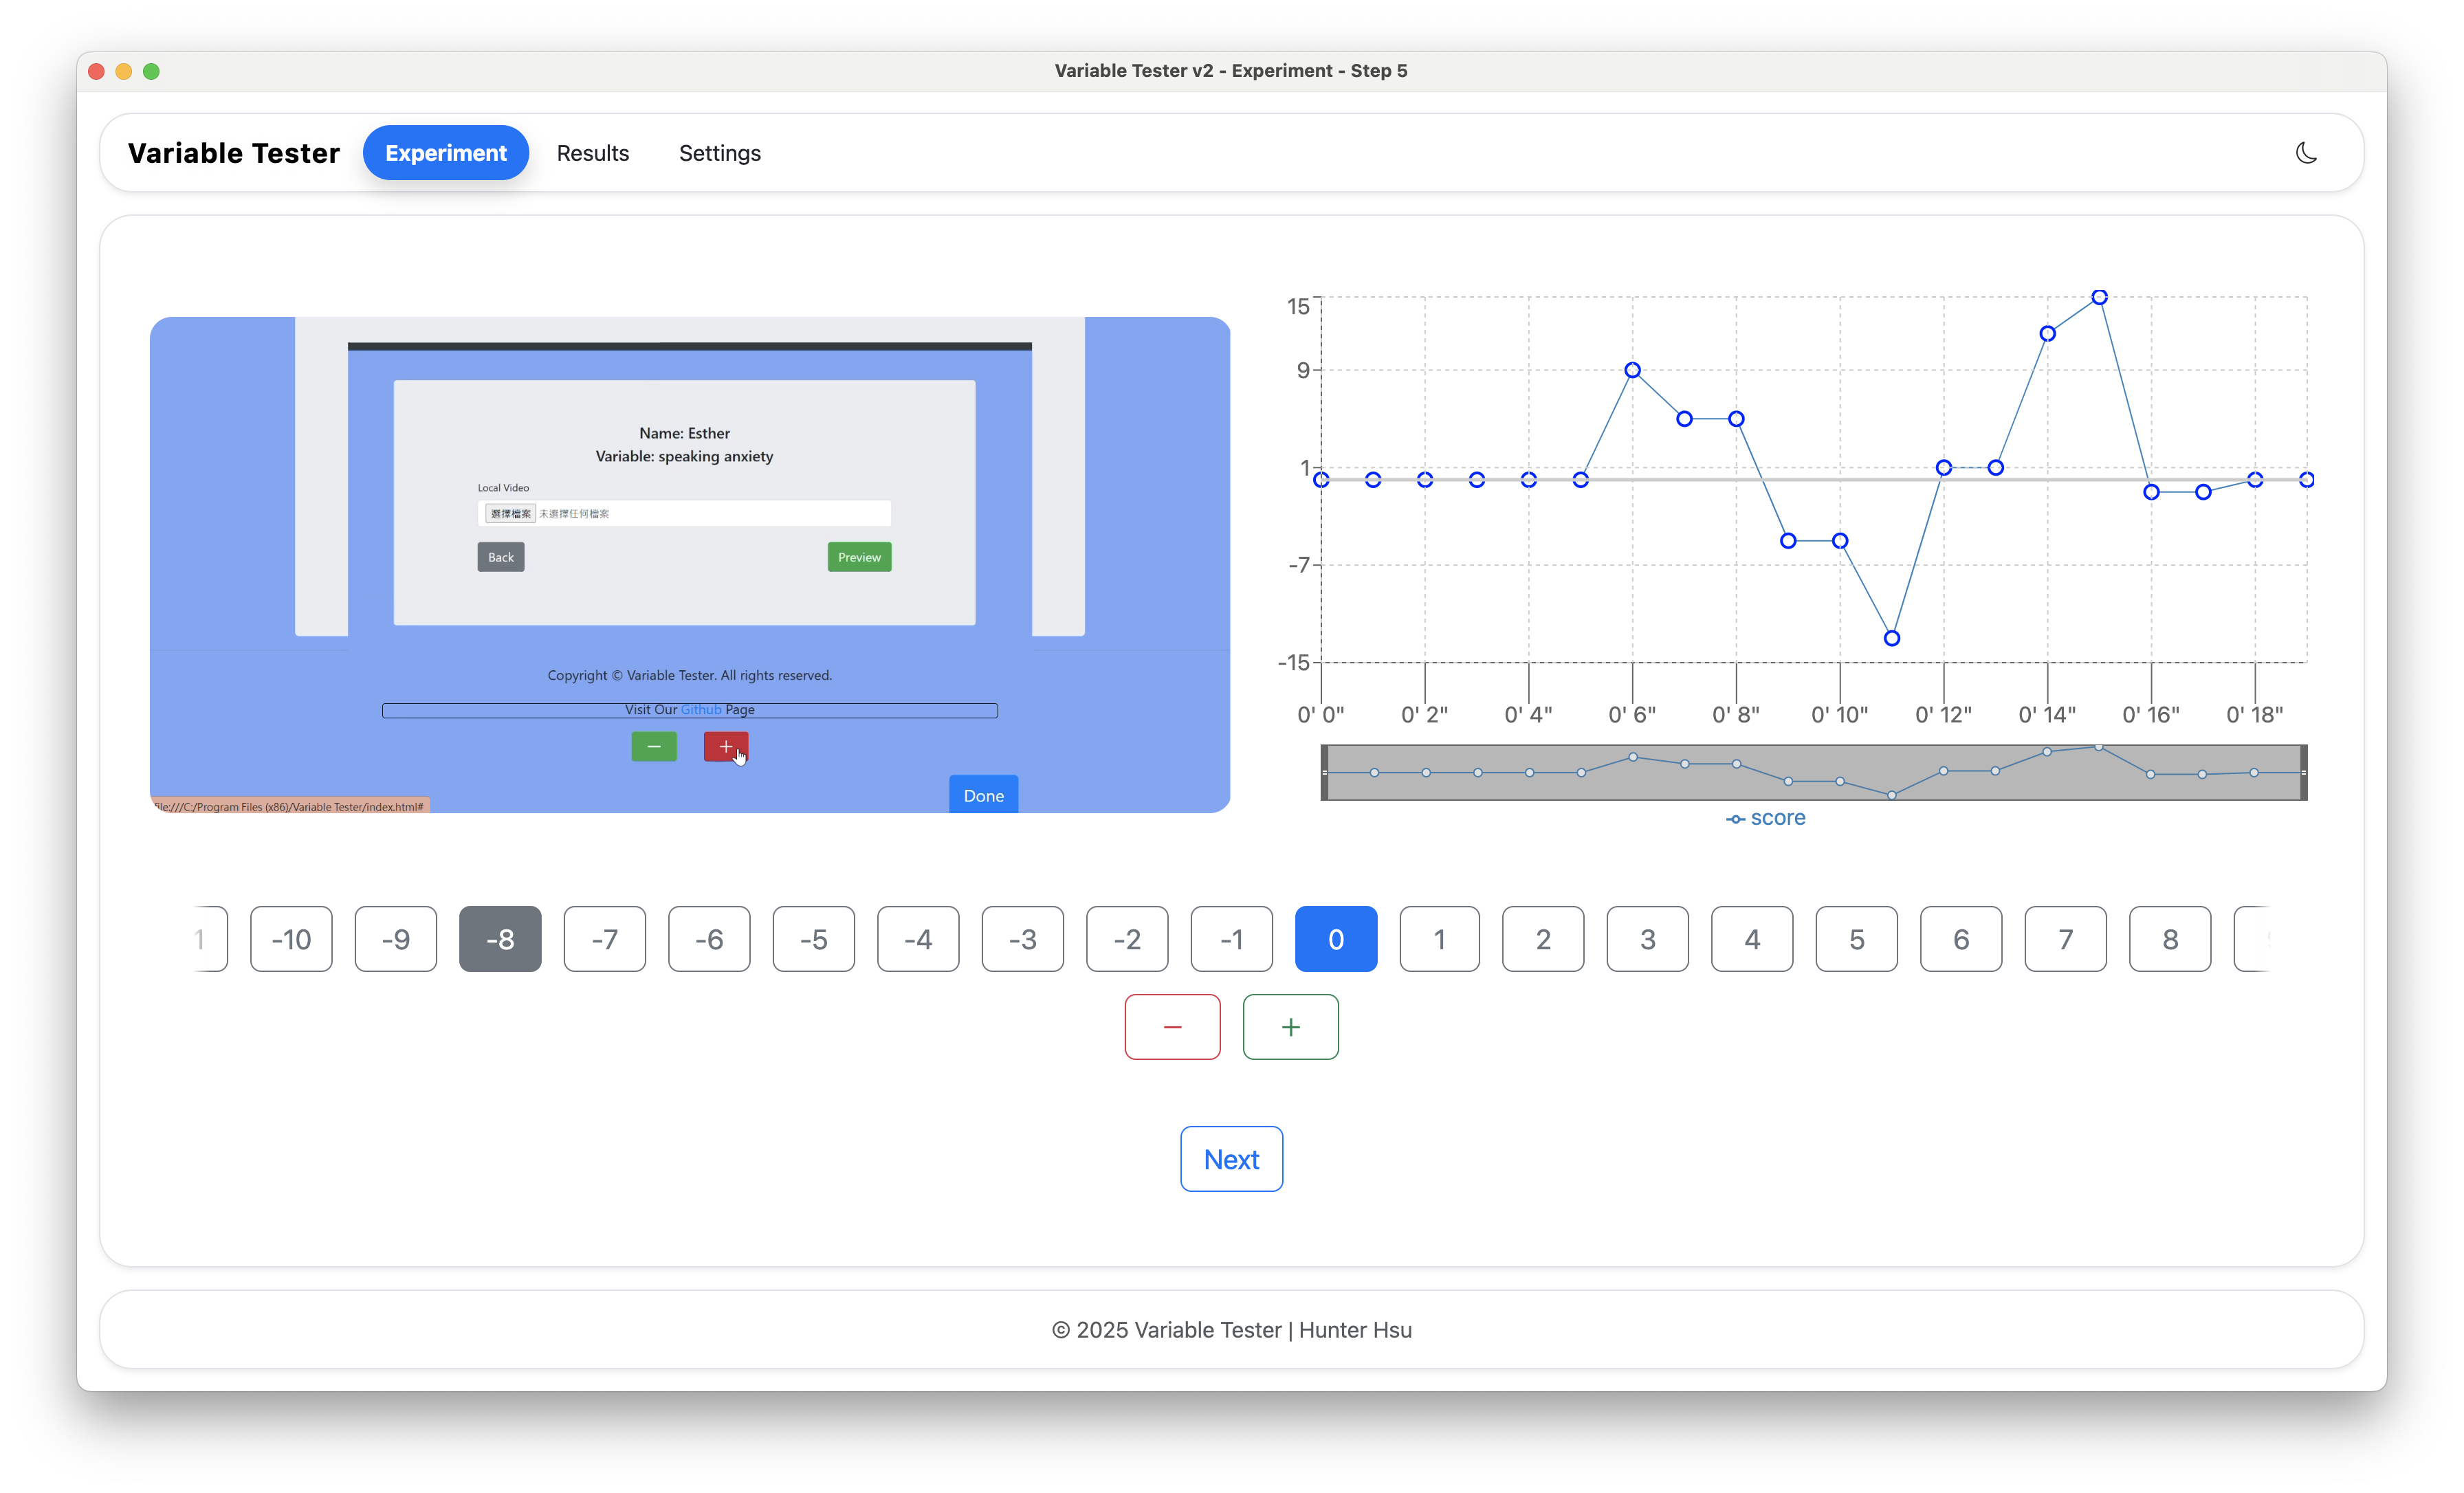
How to Record Scores:
- Use the score buttons or keyboard shortcuts to adjust the score
- The score represents the current level of the variable you're measuring
- A horizontal button array (Score Buttons) shows the current score, one of these buttons is highlighted to indicate the current score
- Scores are automatically captured at regular intervals
The interval can be configured in Settings
Score Controls:
-
Increase: Click the
+button or press the Up Arrow key -
Decrease: Click the
-button or press the Down Arrow key - Set to specific: Use the Score Buttons to set a specific score
Auto Reset:
- After inactivity, the score automatically resets to 0
- This helps avoid bias from forgotten scores
- The reset timeout can be configured in Settings
Tips for Your First Test:
- Try changing the score a few times while the video plays
- Watch how the chart updates in real-time
- Notice the score buttons at the bottom showing your current score
Let the video play until it ends, then click on Next to proceed.
After the video ends, you'll see the Review Screen:
- The complete chart of all recorded scores
- The video is paused at the beginning
You can edit scores:
- Click on any point in the chart
- The video jumps to that exact moment and plays briefly
- Click "Edit Score" to change the score at the specific time
- Move to another point or click "Save"
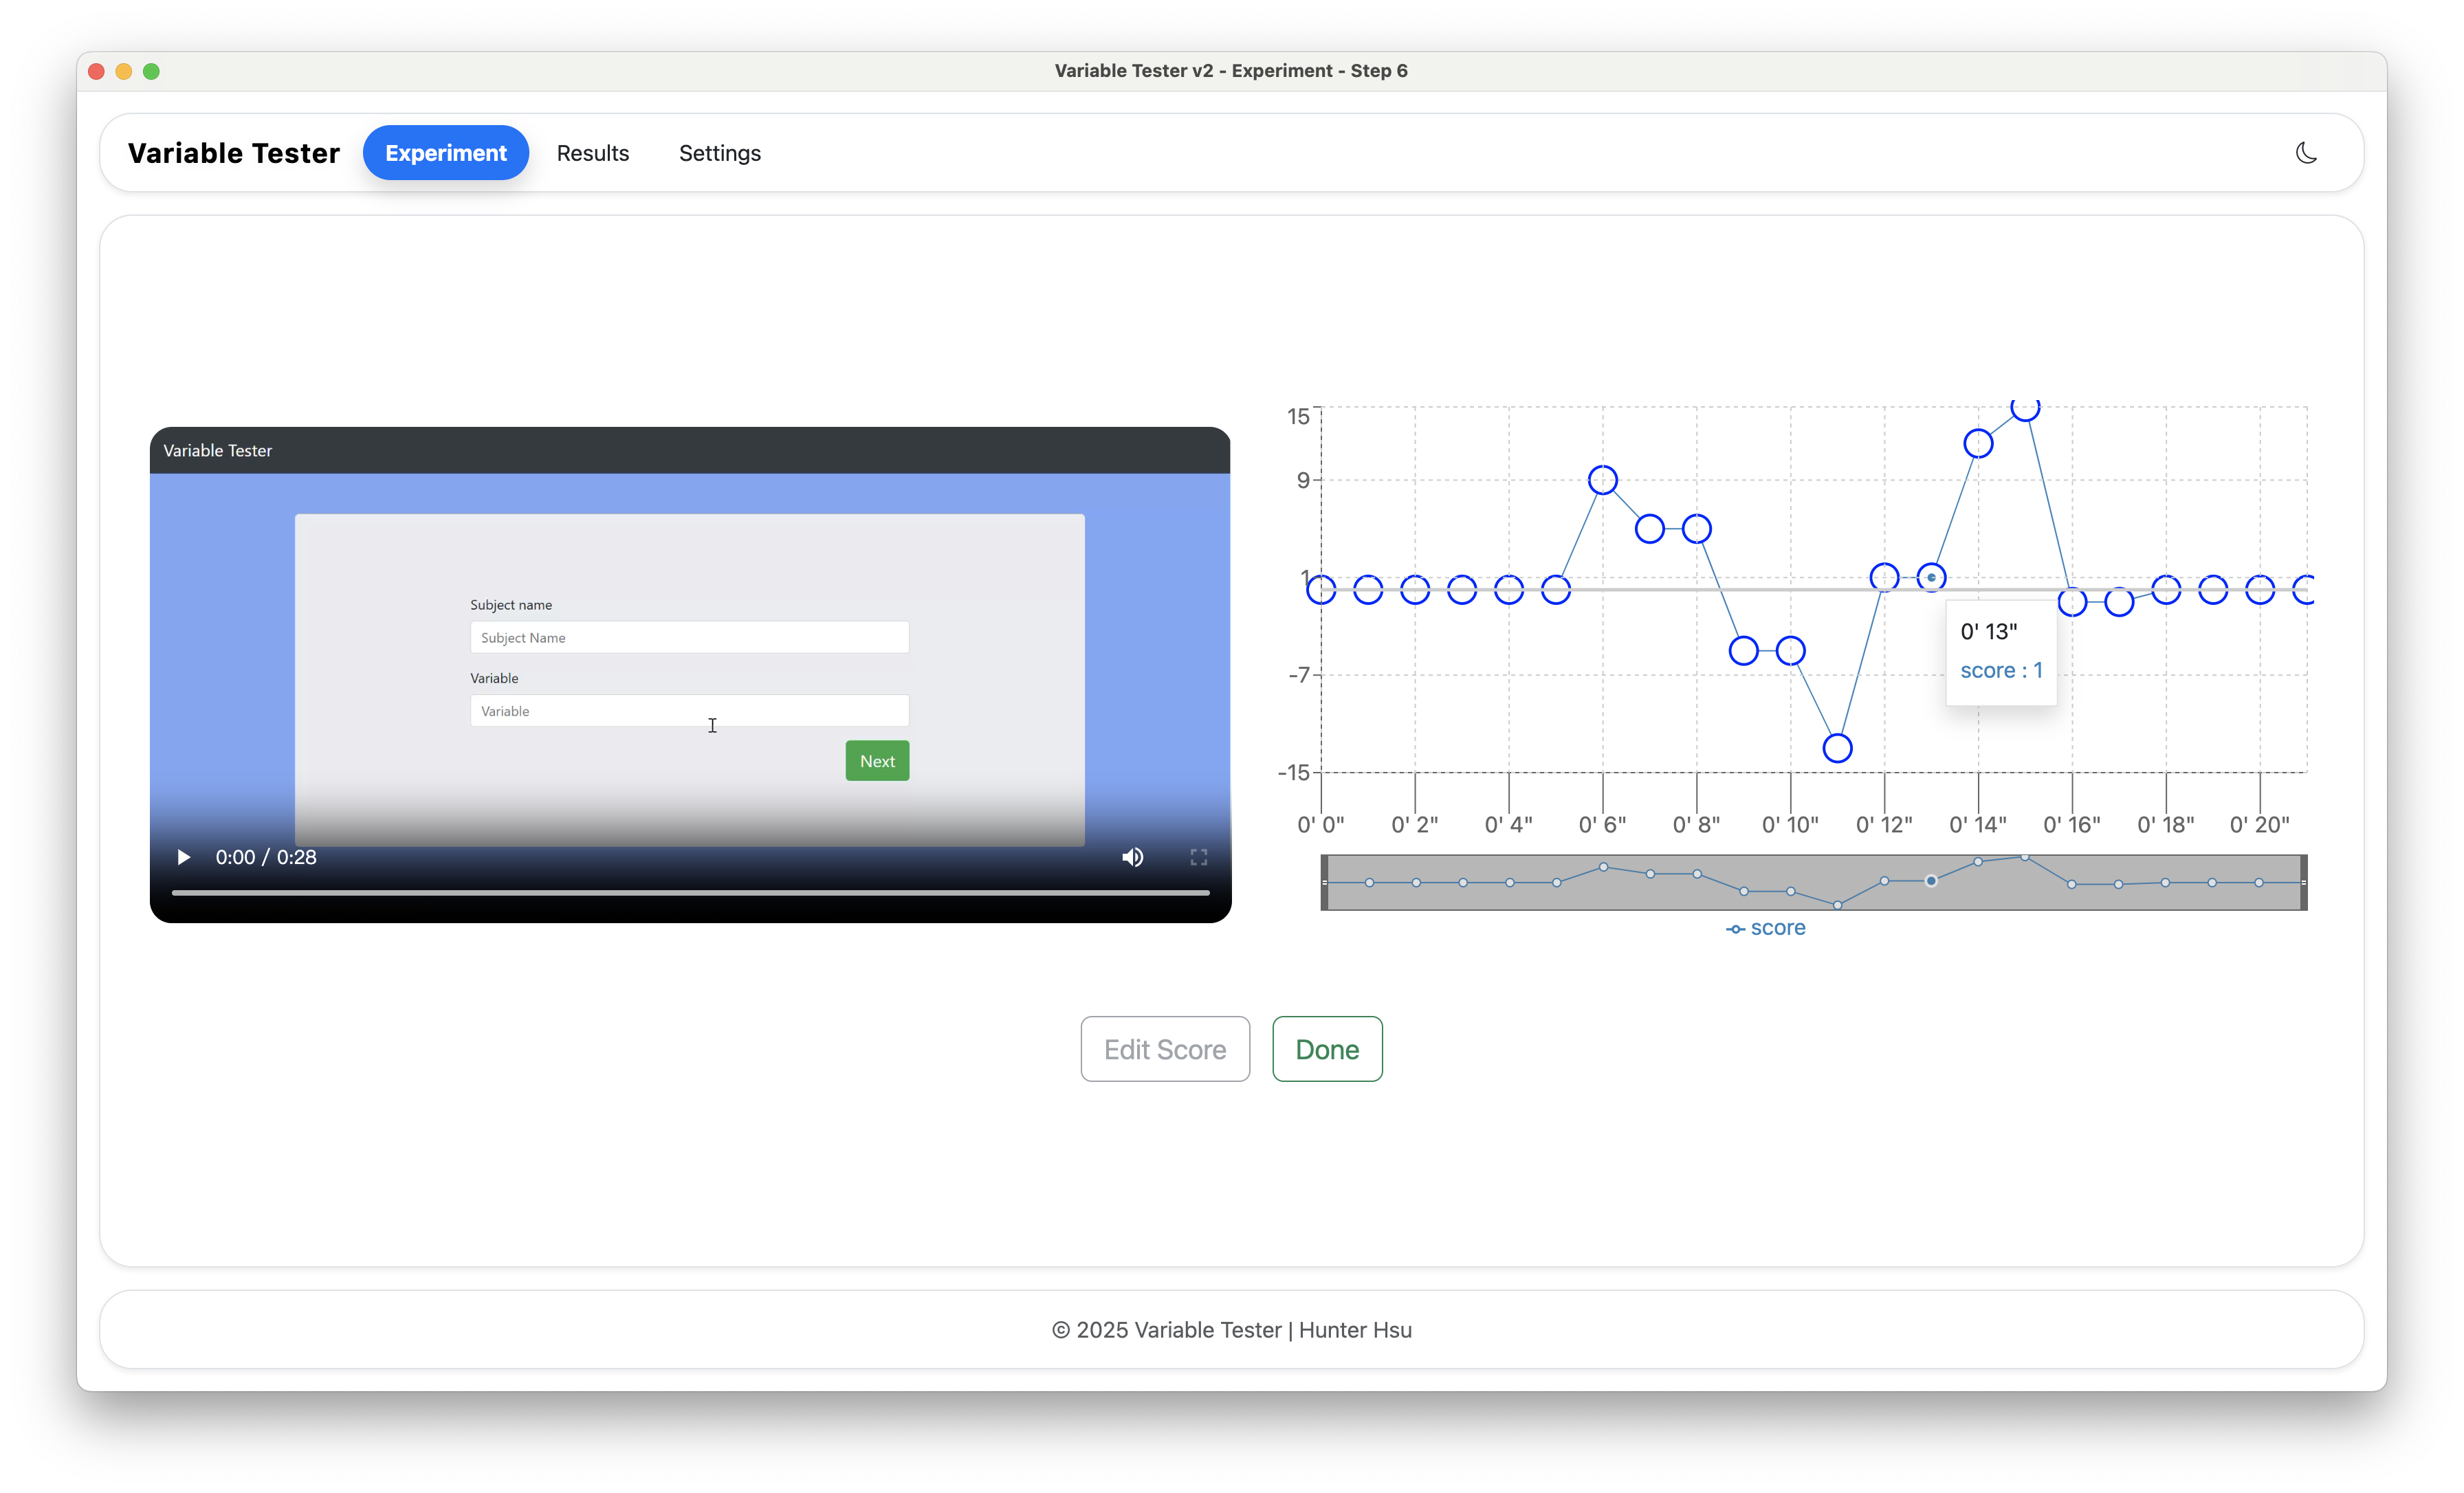
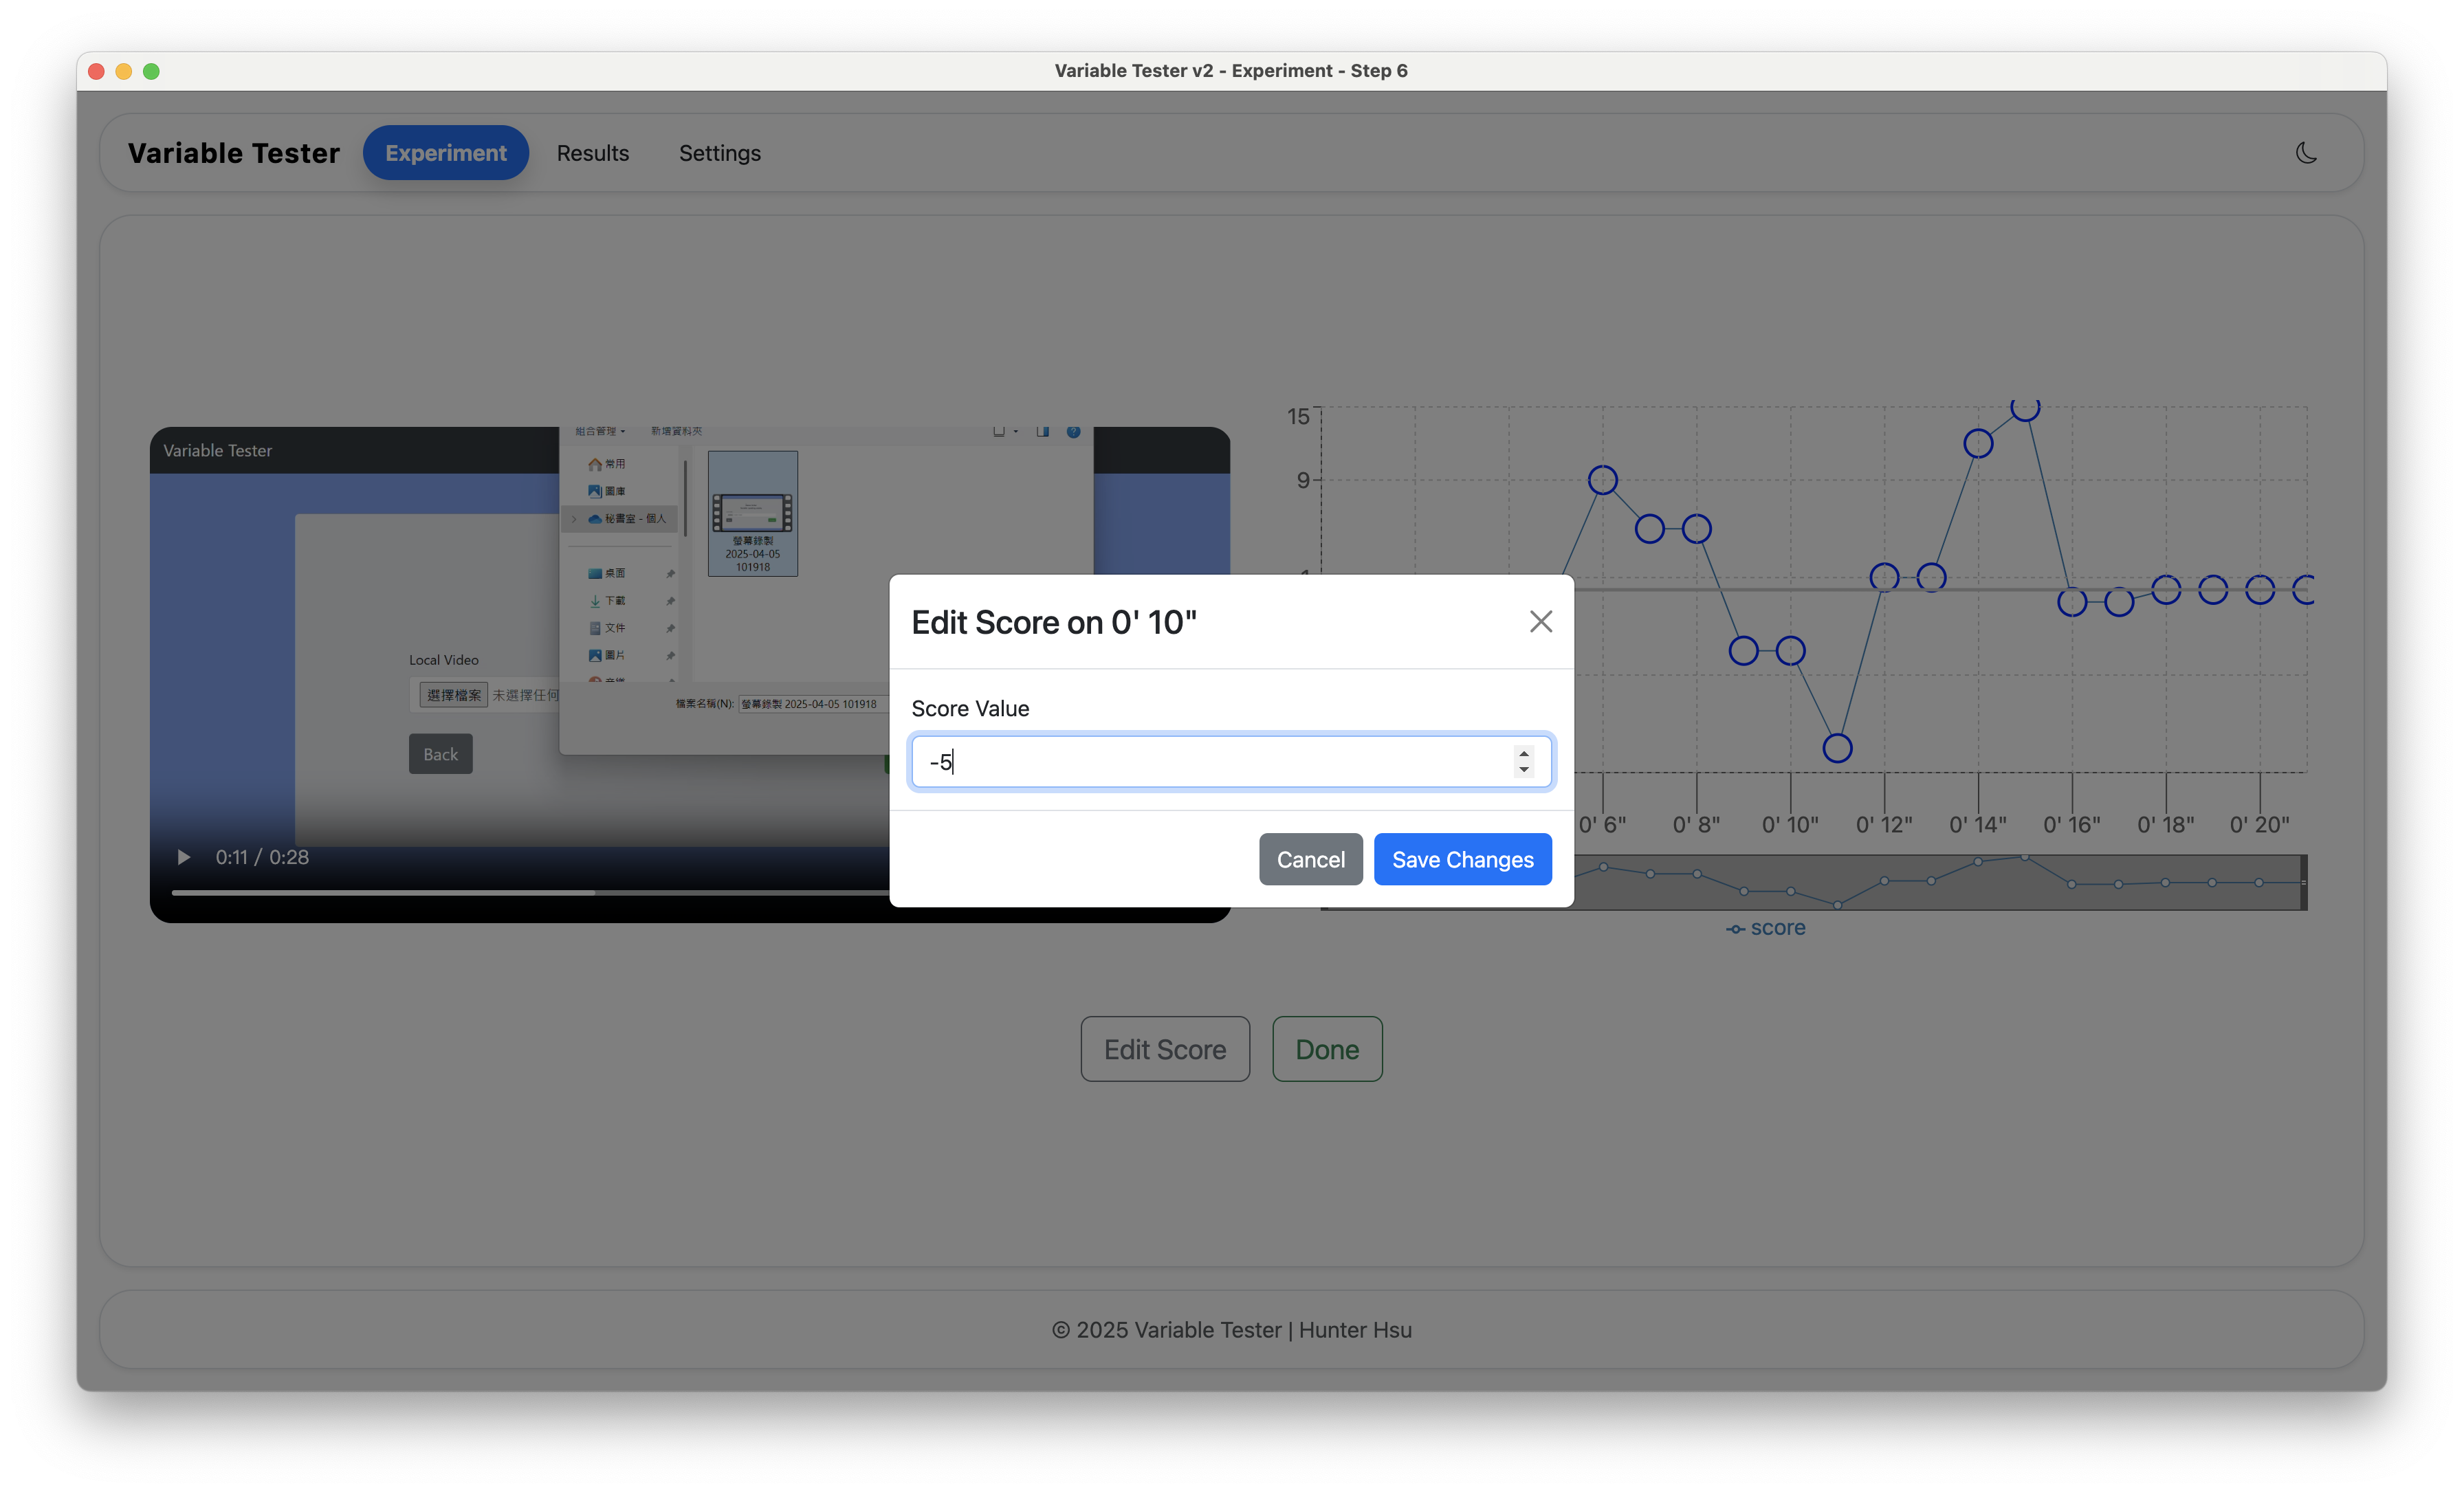
When satisfied with the data, click "Done" to save the experiment. You'll be directed to the Result View page.
After completing your test experiment:
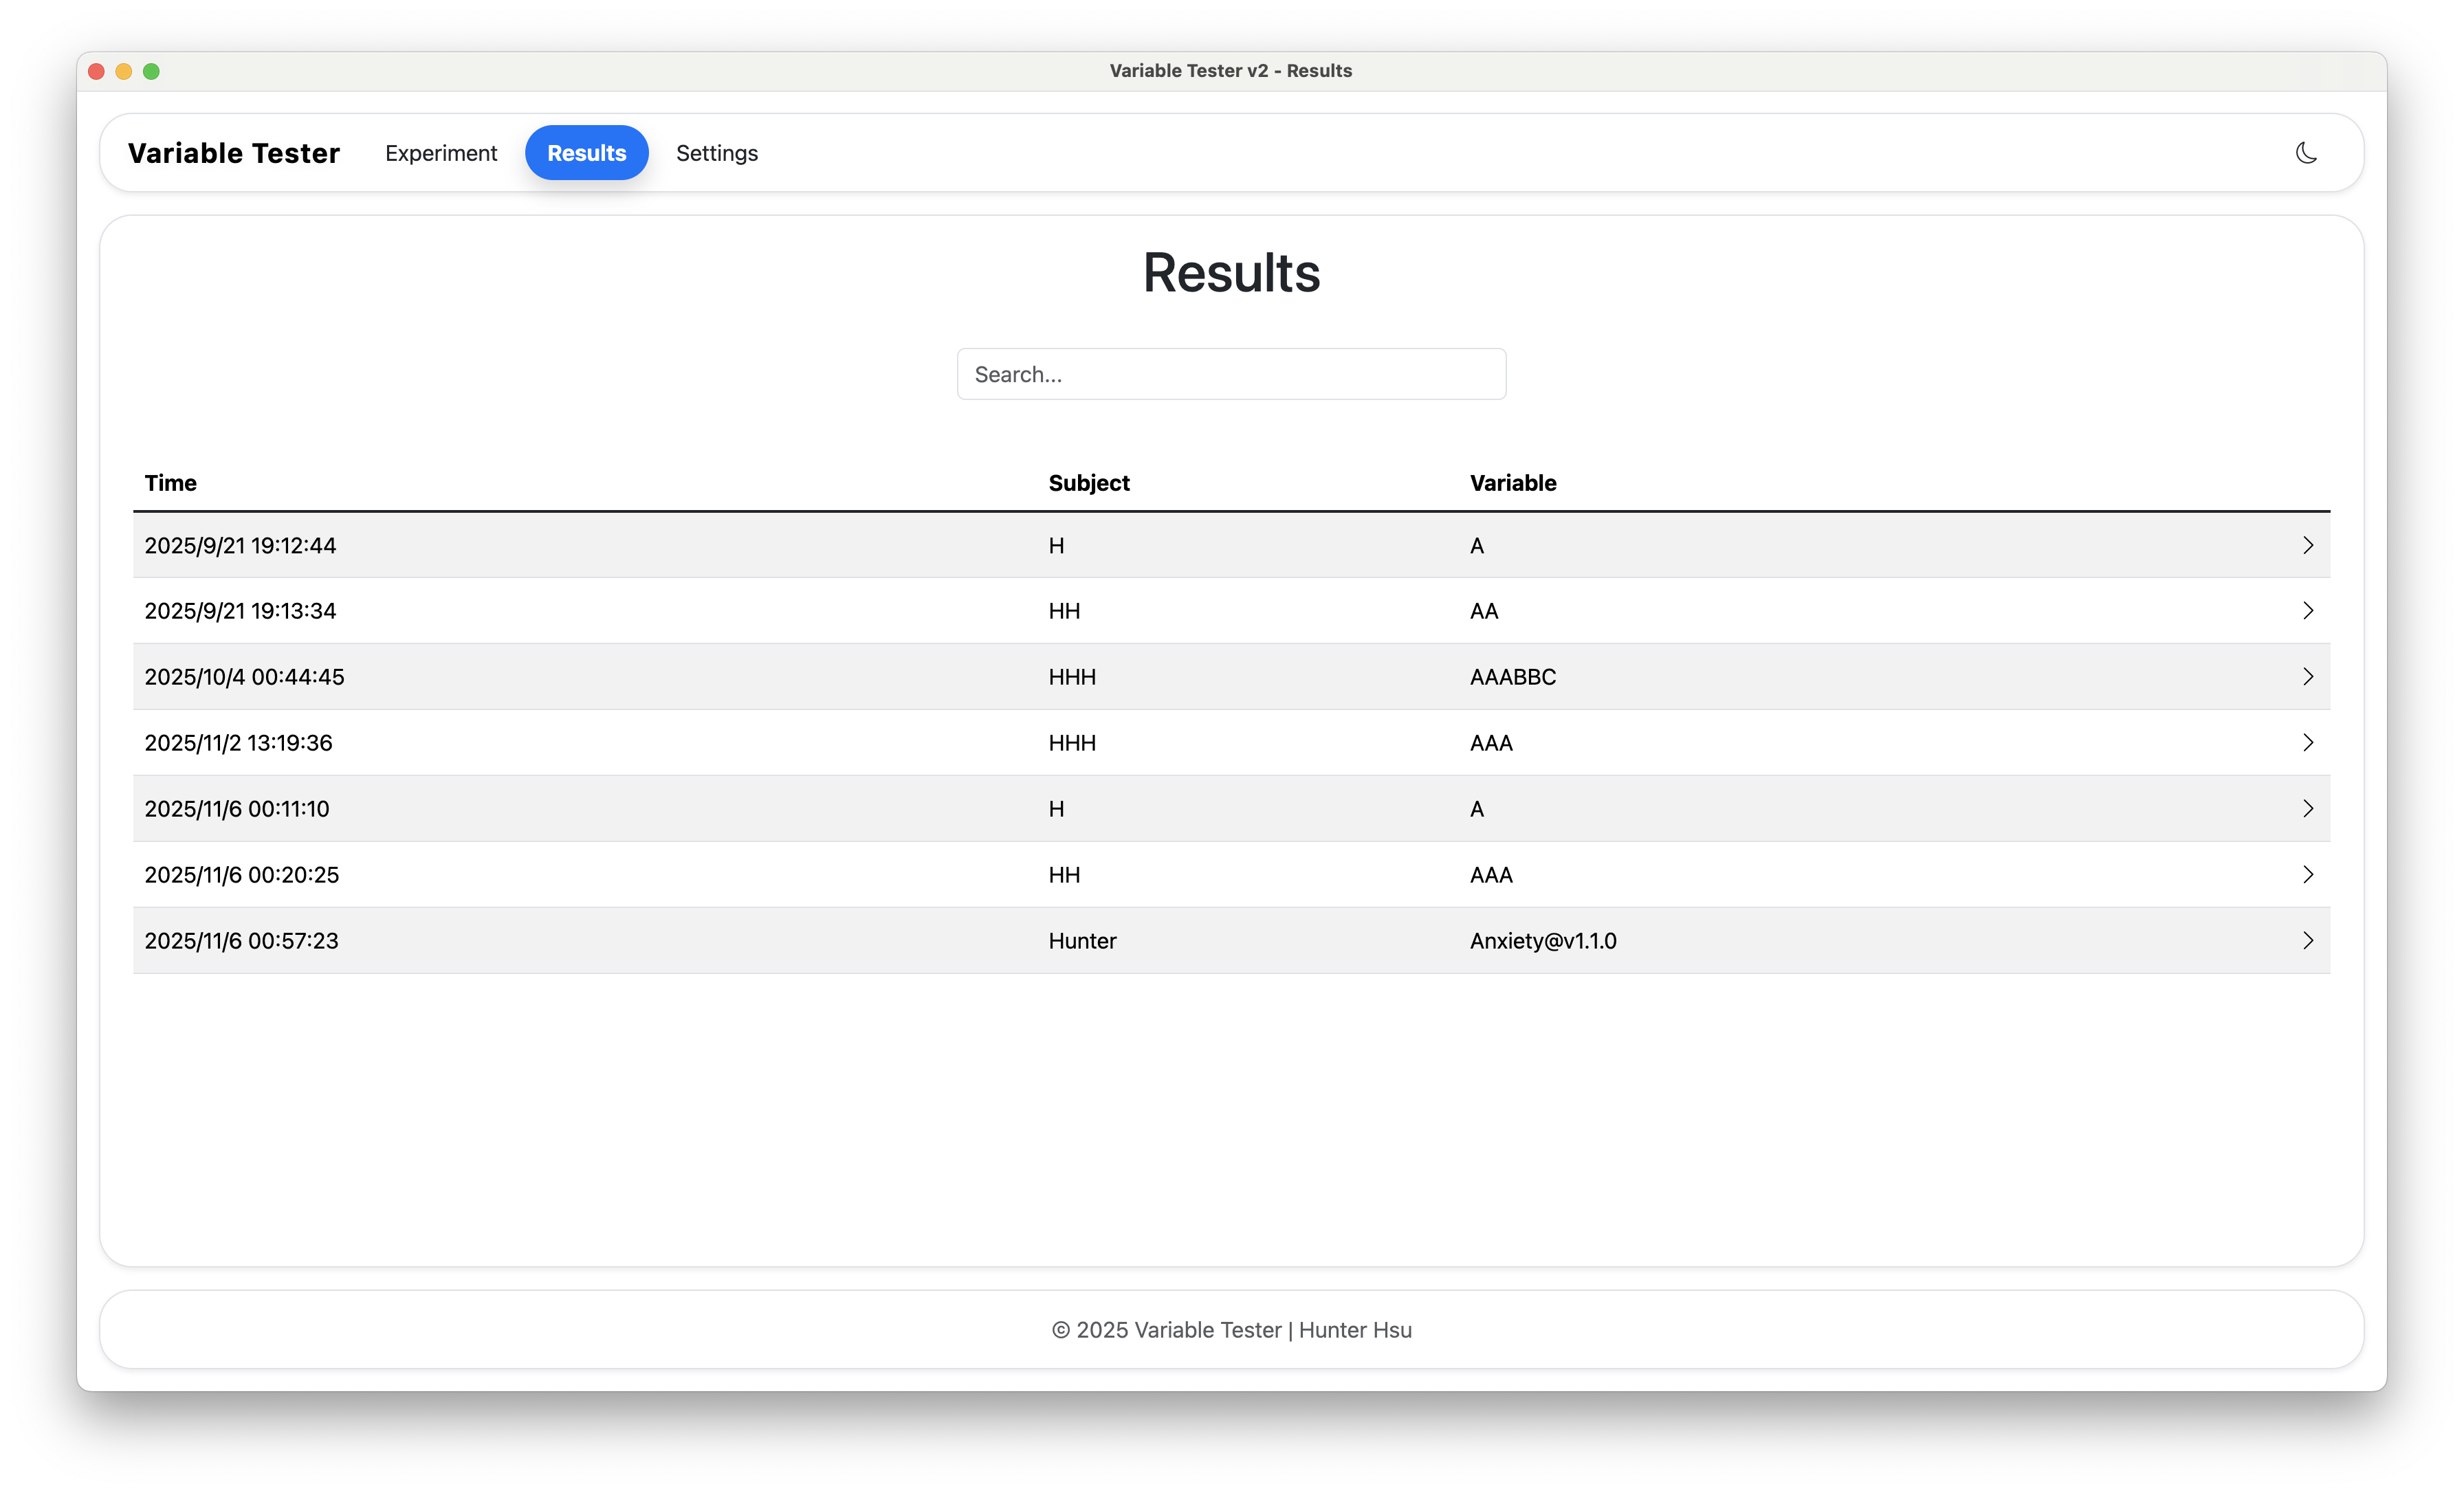
- From the navbar menu, click "Results"
- Find your "Test Subject - Attention" experiment
- Click on that row to view details
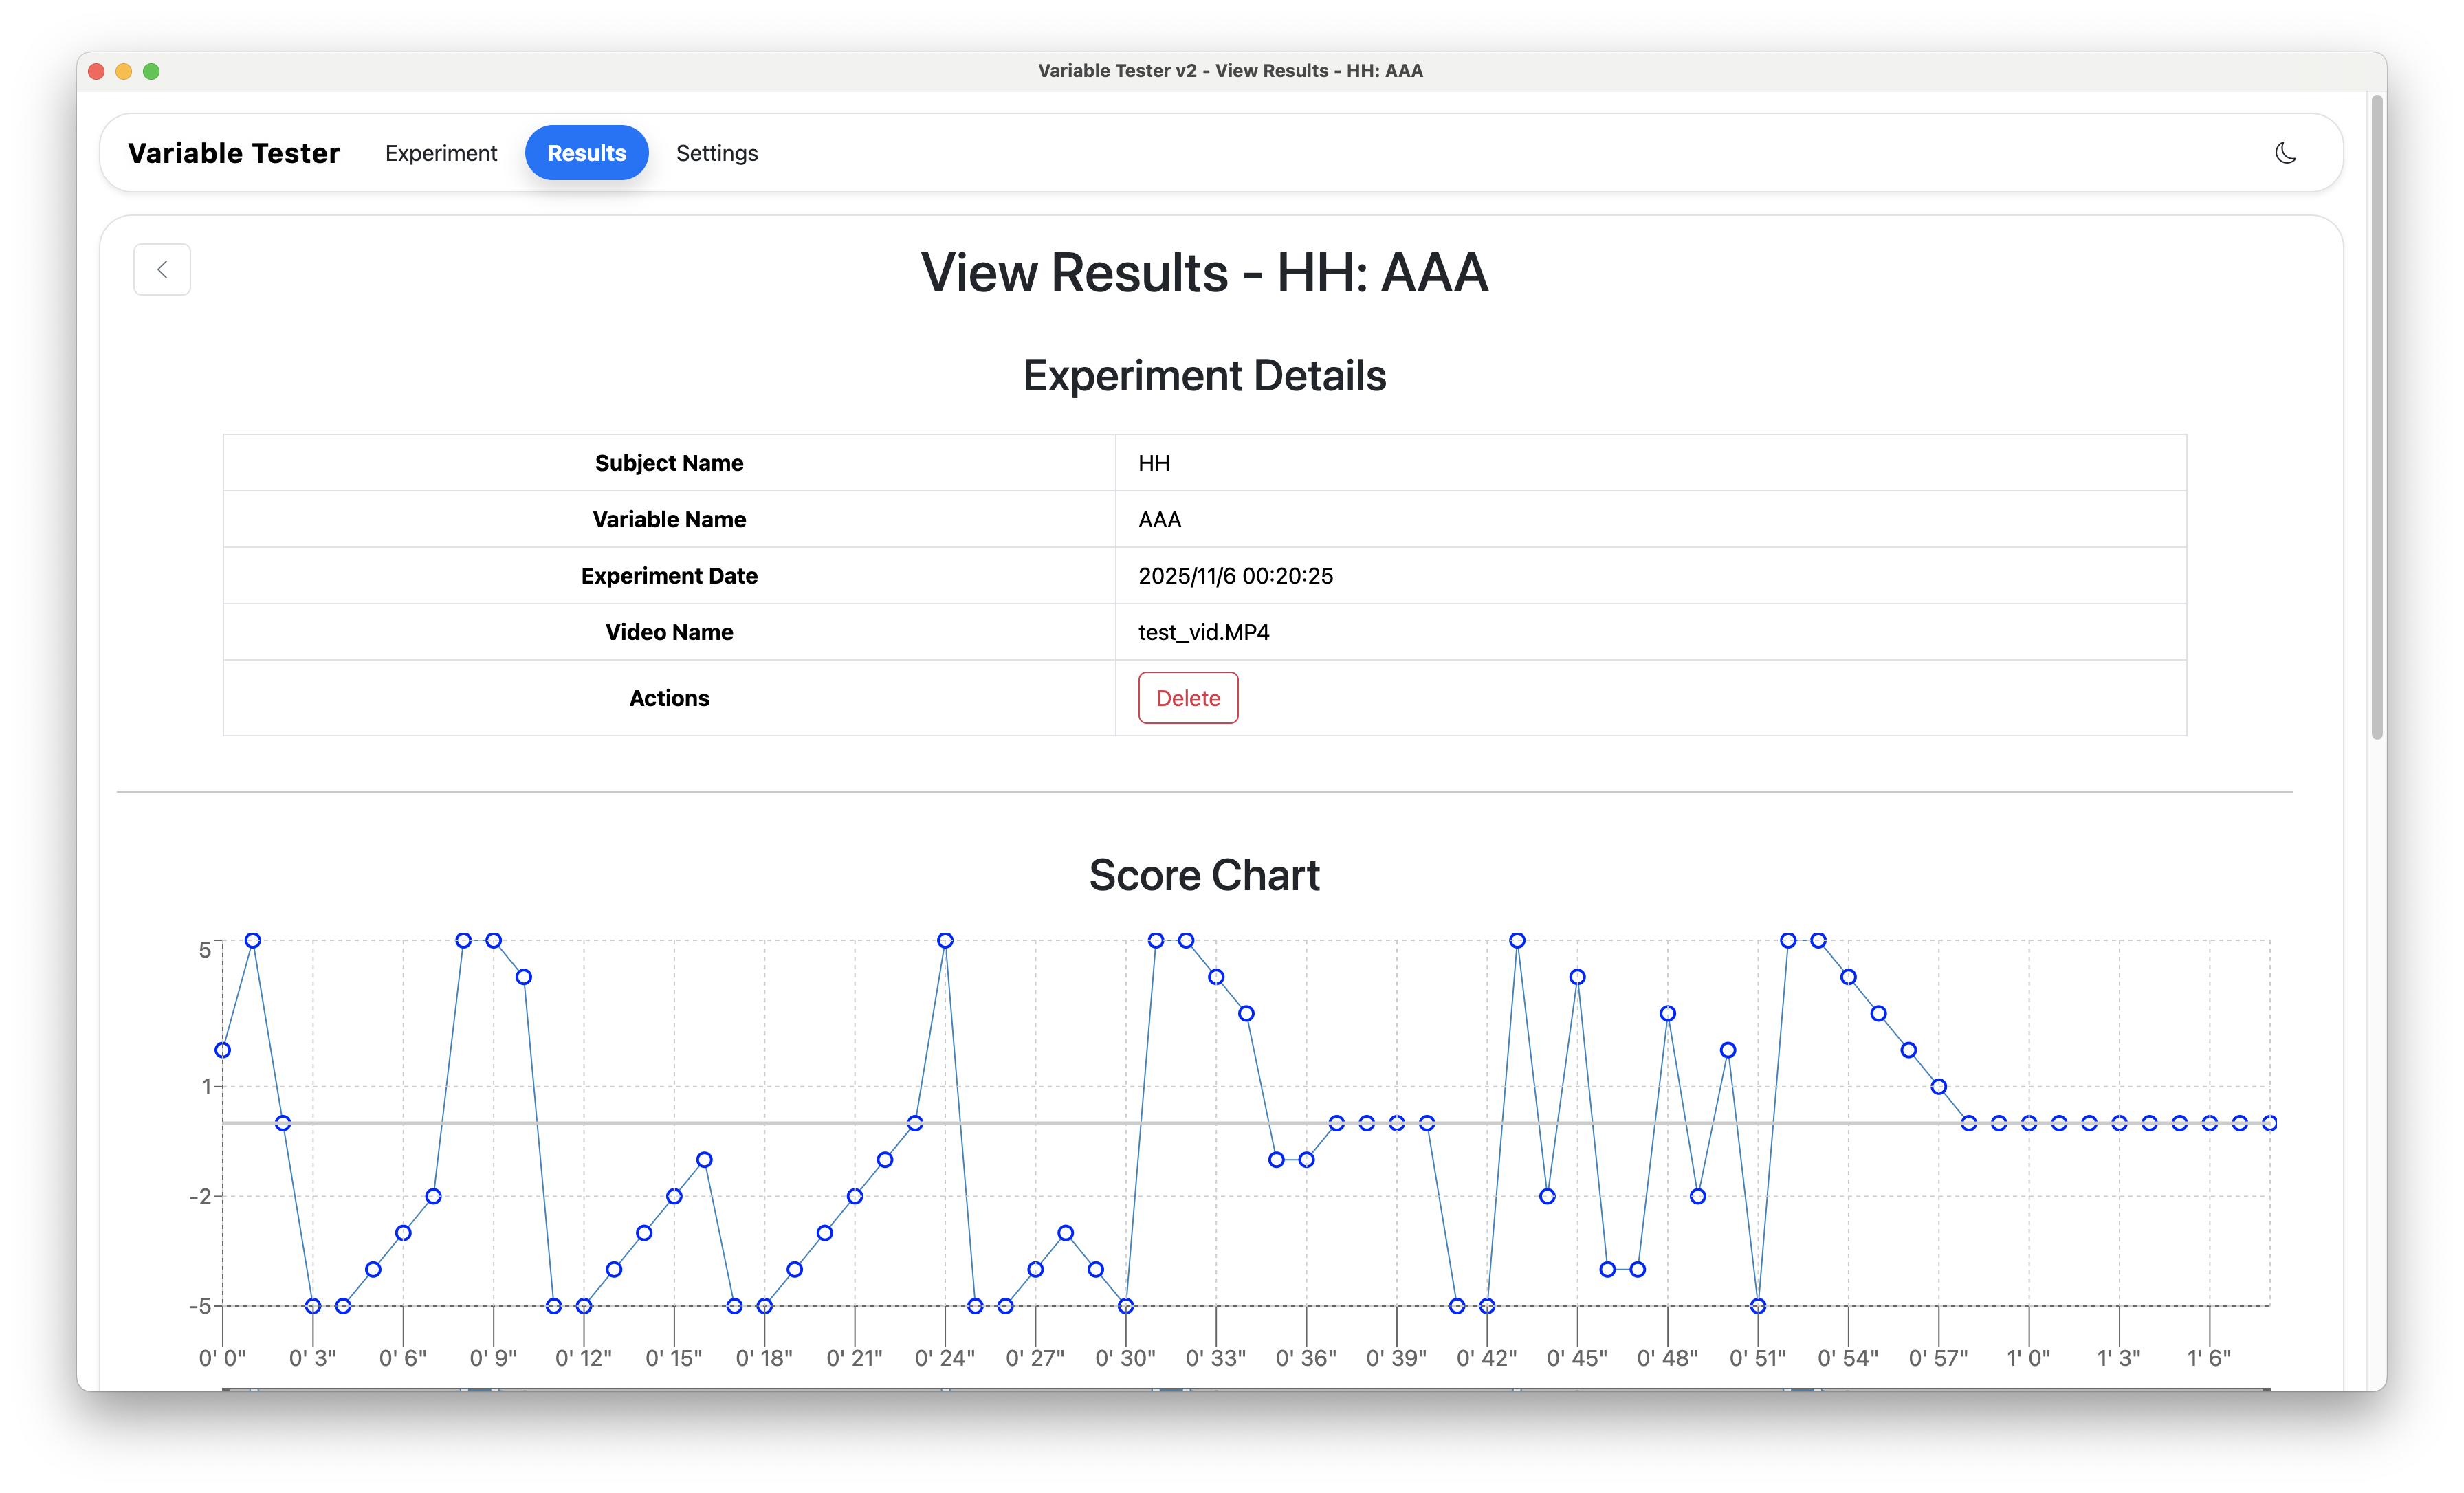
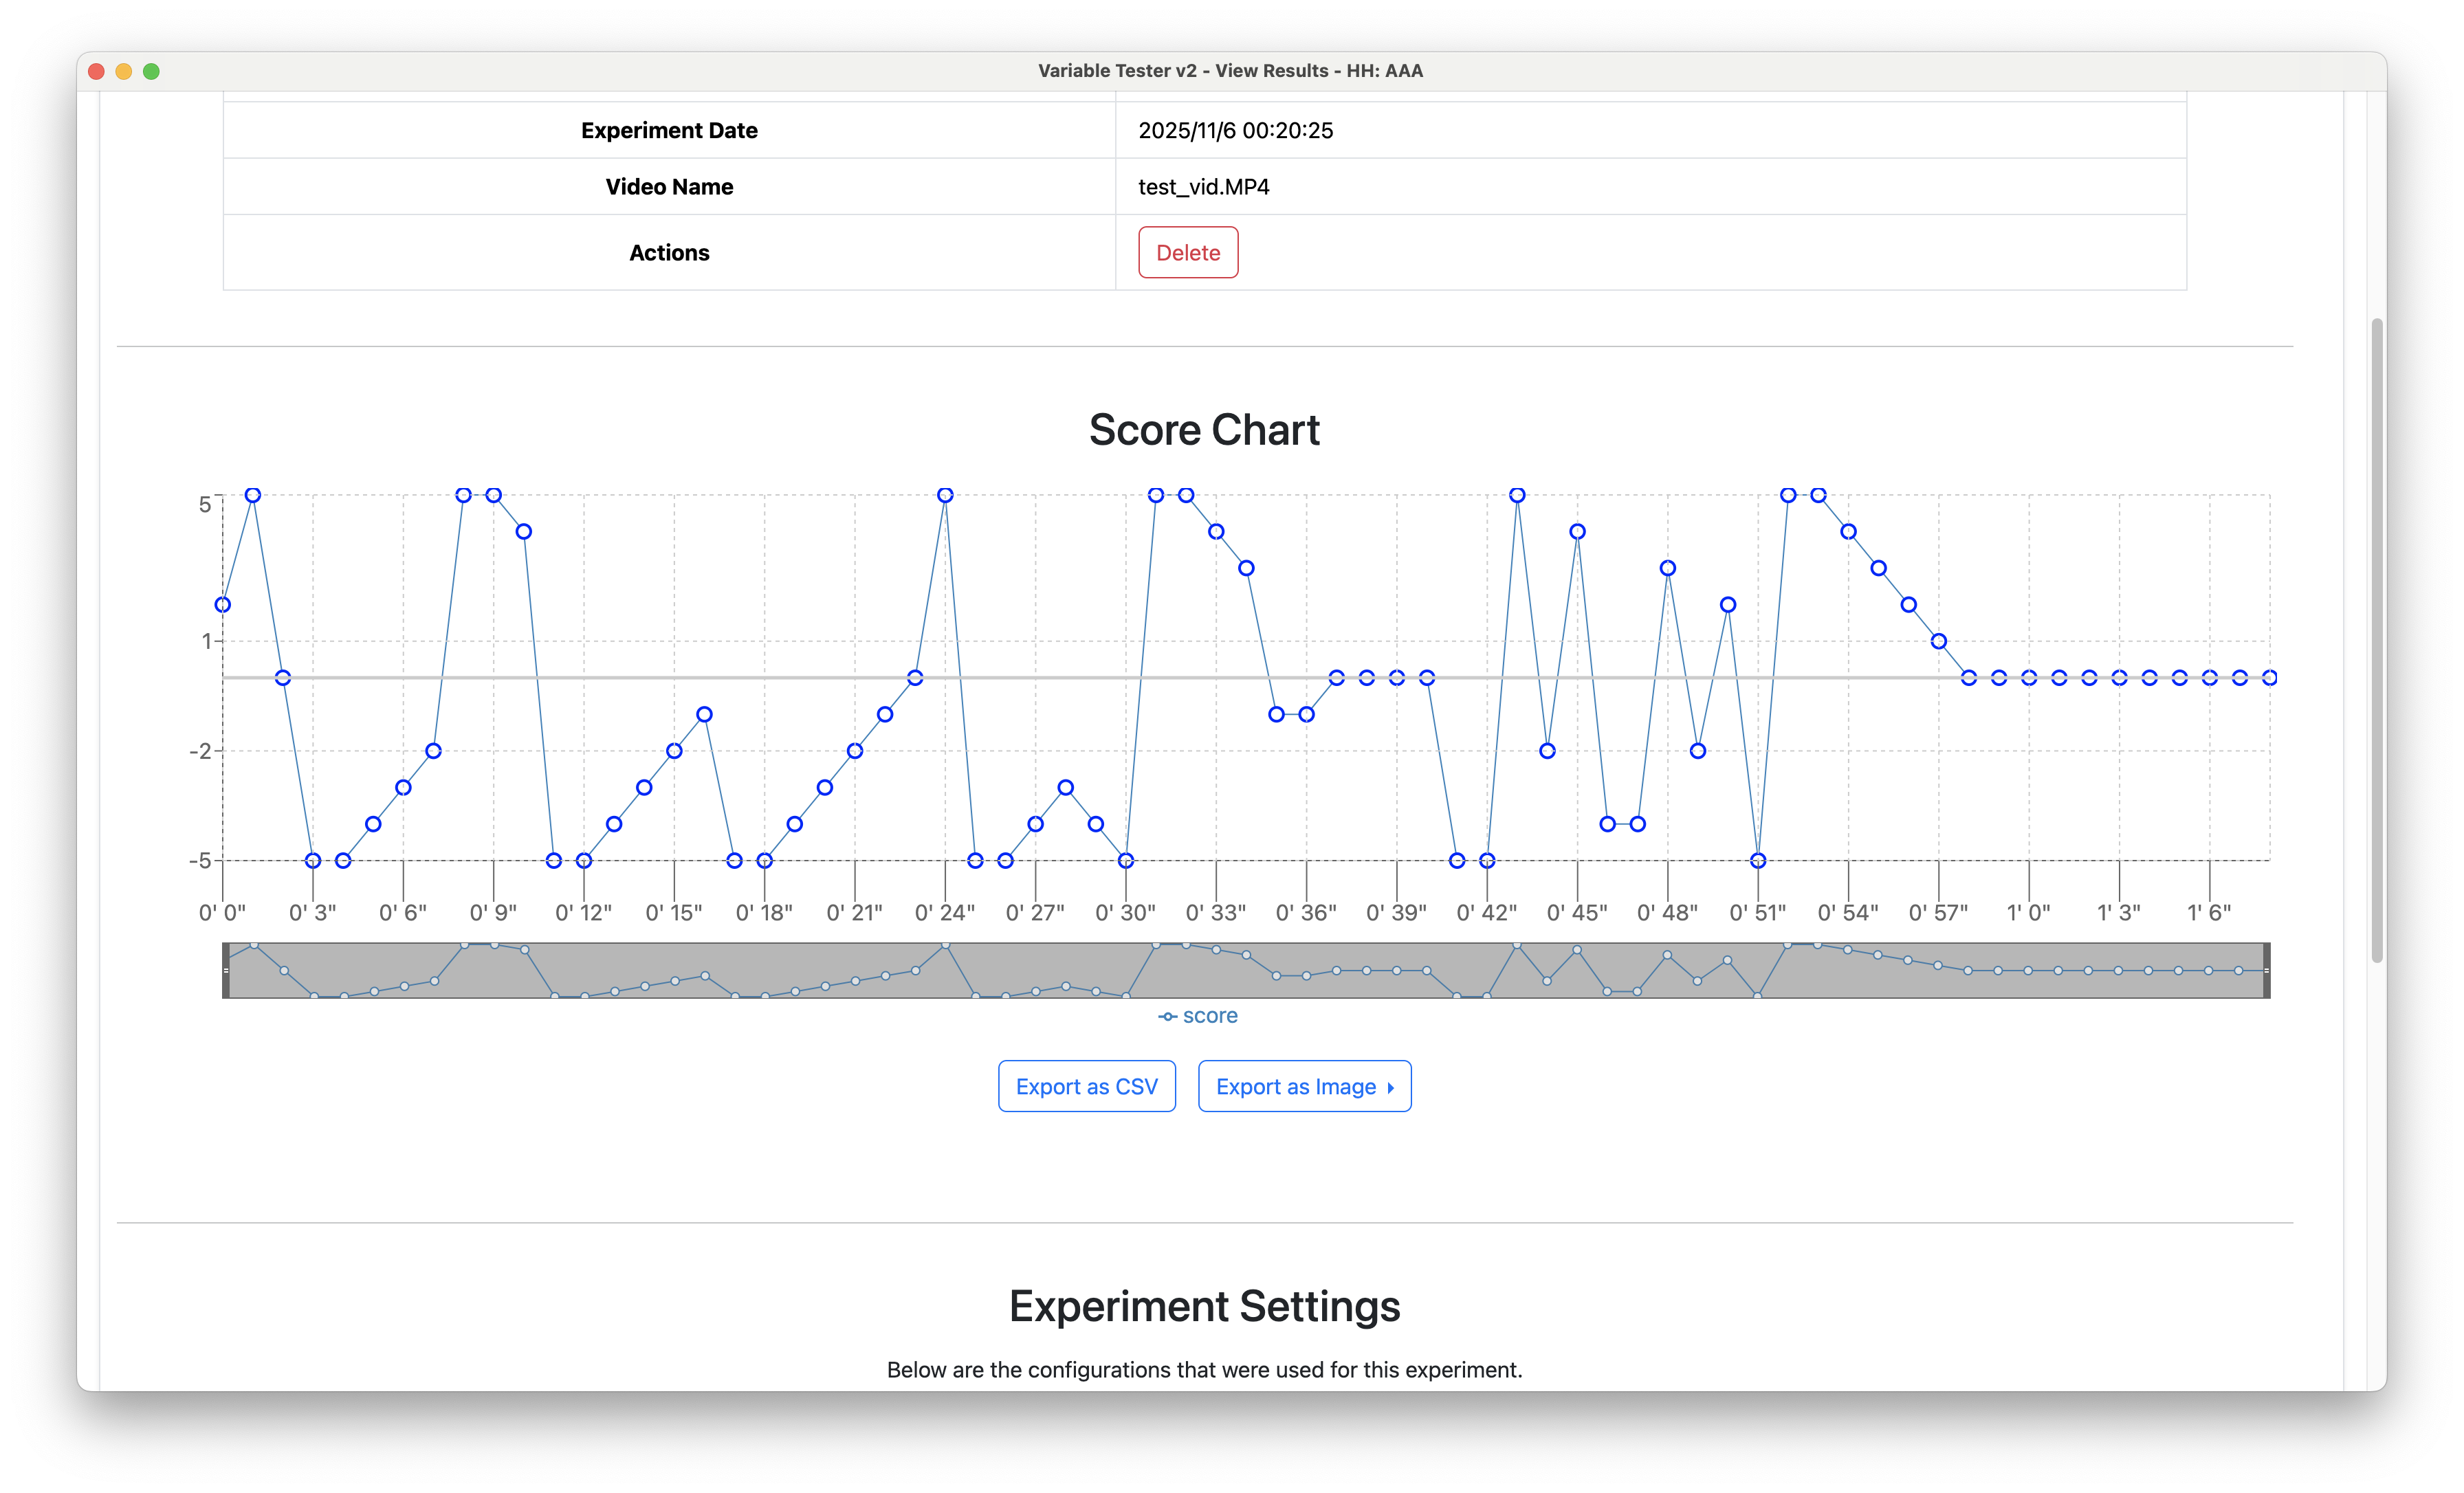
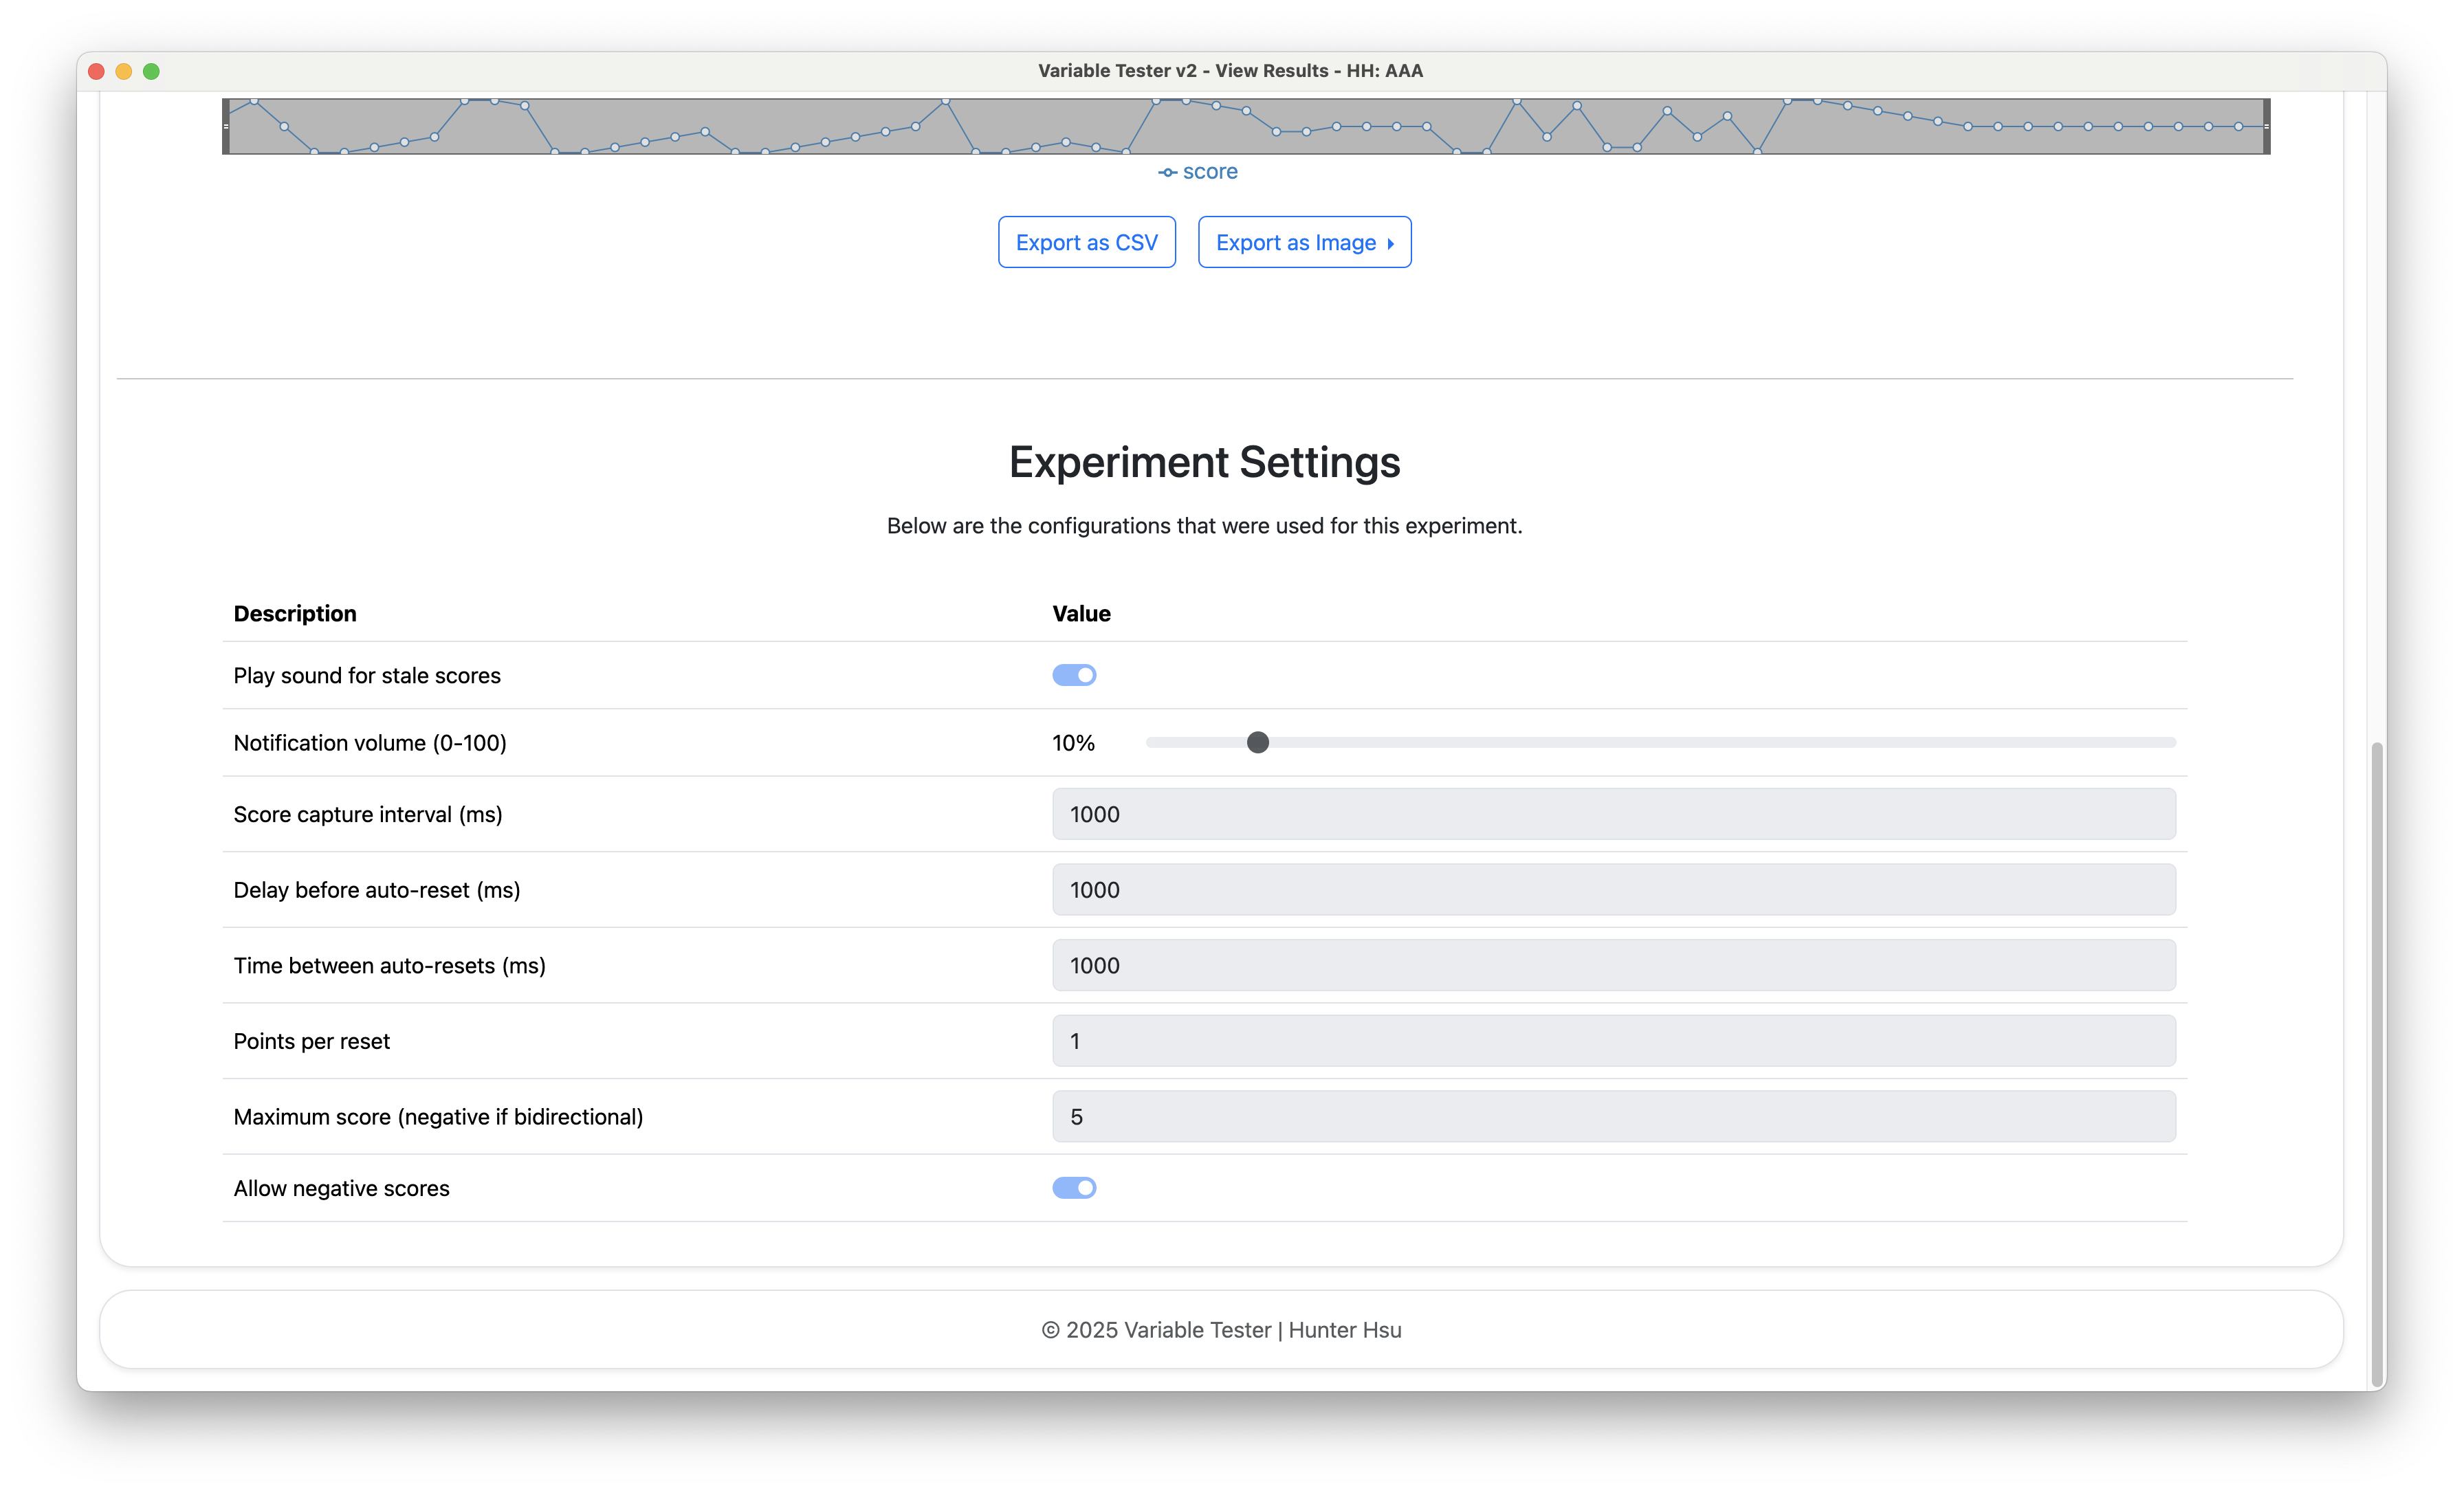
What You'll See:
- Subject name, variable tested, date/time
- Video file name used for the experiment
- Complete interactive chart with zoom/pan controls
- Export options (CSV, images)
- Settings snapshot used during experiment
Before conducting real experiments, you may want to customize settings:
- From the Main Menu, click "Settings"
- Adjust parameters like score range, update intervals, and reset behavior
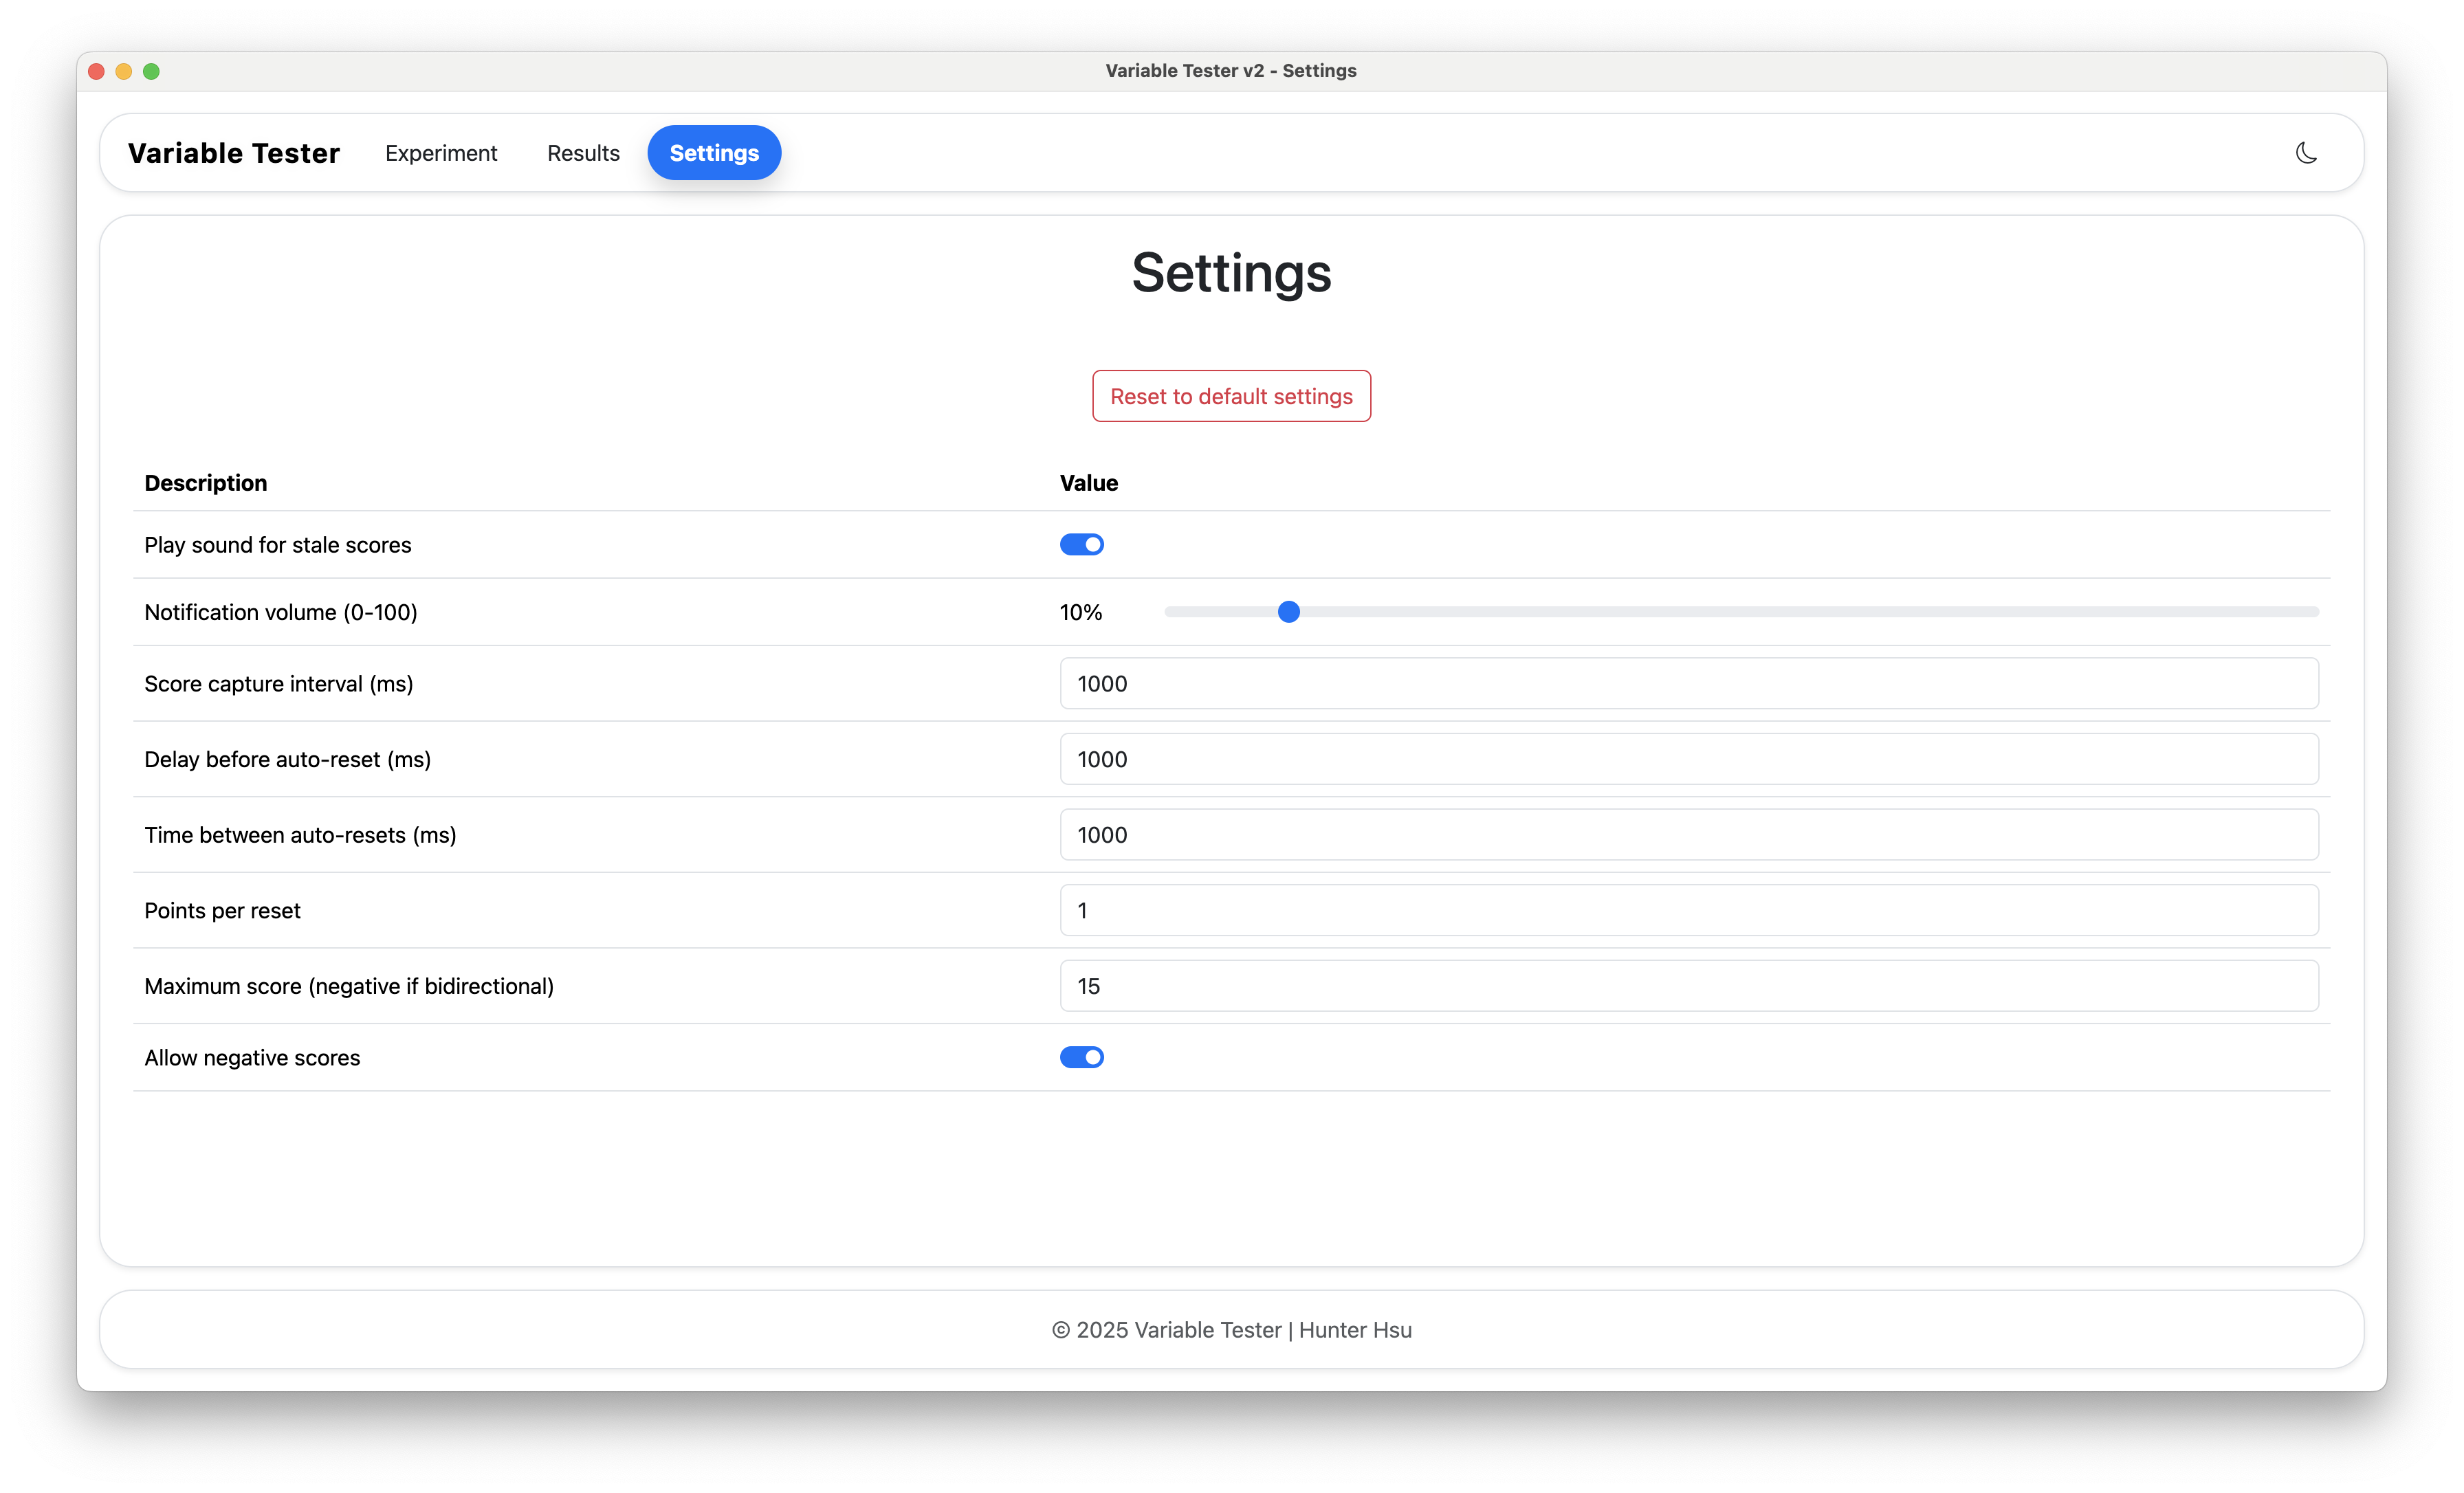
Settings are automatically saved and persist across sessions.
The person participating in the experiment. Each experiment is linked to one subject.
What you're measuring during the experiment (e.g., "Anxiety").
The numerical value representing the current level of the variable. This changes throughout the experiment.
How frequently the application saves your current score (default: every 1 second).
The visual representation of how scores changed over time during the video.
Now that you know the basics, here are some tips for successful experiments:
✅ Prepare Your Videos First - Have them ready and tested ✅ Configure Settings Before Starting - Less disruption during experiments ✅ Use Clear Variable Names - "Happiness Level" is better than "Test1" ✅ Review Scores After Each Experiment - Catch any errors immediately ✅ Keep Consistent Scoring - Define what each score level means beforehand ✅ Export Data Regularly - Back up your results
Now that you understand the basics:
- Conducting an Experiment - Detailed guide for real experiments
- Configuring Settings - Customize all parameters
- Viewing Results - Learn about data analysis and export
- Troubleshooting - Solutions to common problems
If something isn't clear:
- Read the FAQ for quick answers
- Check Troubleshooting for common issues
- Report a Problem if you found a bug
Last Updated: November 2025